After several years of off and on blogging, I’m still trying to figure out what to put in this blog. I tried to make it an astronomy news blog, and posted every day for about 2 years. This certainly improved my writing and forced me to think quickly when writing content, but it wasn’t what I wanted to do.
I tried other content, but I found that I wasn’t passionate about non-astronomy things. It needs to be a space blog, but not a recycling of news and explaining concepts.
In the past few years, posts have been few and far between, mostly due to being busy with work. With planetarium shows now being my full time job (www.astronomyinaction.com), I’ve had so many ideas for blog posts based on the interactions I’ve had while travelling around Ontario. I think these stories will make a good focus for the blog going forward.
Real Post Stars Here:
(Scroll down for photos if you don’t want to read the details)
However, I promise to still post about my side passion – Astrophotography. That’s what this post is really about.
Thanks to a generous friend, I ended up with a new telescope – an 8″ Meade LX200GPS, a serious upgrade from my old 3 inch refractor that I’d been using for 20 years. To prepare for using this new tech, I bought some power cables that would let me run the scope on a portable battery, some connector cables to allow me to point the scope using a laptop, and some camera attachments so I could try out some photography with my trusty Canon 600D. I tested all the tech and was ready to rock!
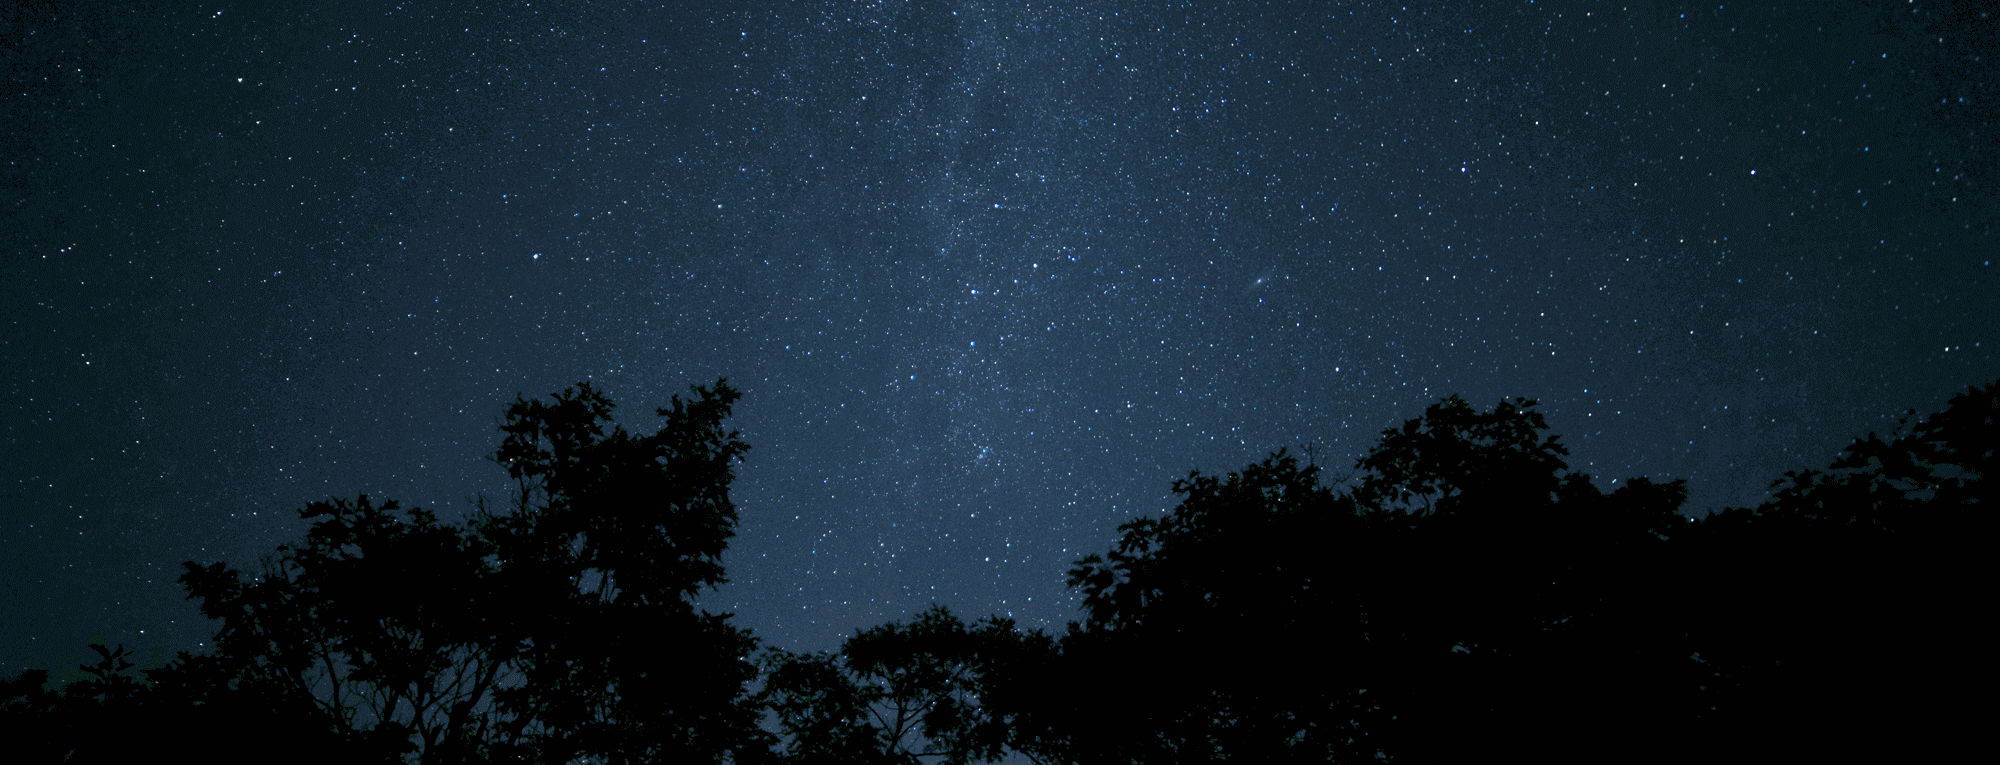
In the past couple of weeks, I managed to get several perfectly clear nights at the Torrance Barrens Dark Sky Preserve outside Gravenhurst, and at Providence Bay on Manitoulin Island.
A Night at Torrance:
Torrance Barrens was a fun and gorgeous evening that turned out to be a bust for the big telescope. I couldn’t get the scope to auto align, and manual alignment wouldn’t stick. I was still able to use the scope without tracking the old school way, and managed to get some good observing of Jupiter and Saturn.
I didn’t realize until the next day that the scope’s computer thought the mount was in Alt-Azimuth mode, while I was trying to polar align it. Jargon aside, it meant the computerized control wasn’t happening.
The real winner was my friend Steve, who used his own DSLR on my Skywatcher Star Adventurer tracking mount with a Rokinon F2.8 14mm wide angle lens (I love that lens). Kudos to him, without ever having used it before he aligned it to Polaris and took some amazing shots of the Milky Way:
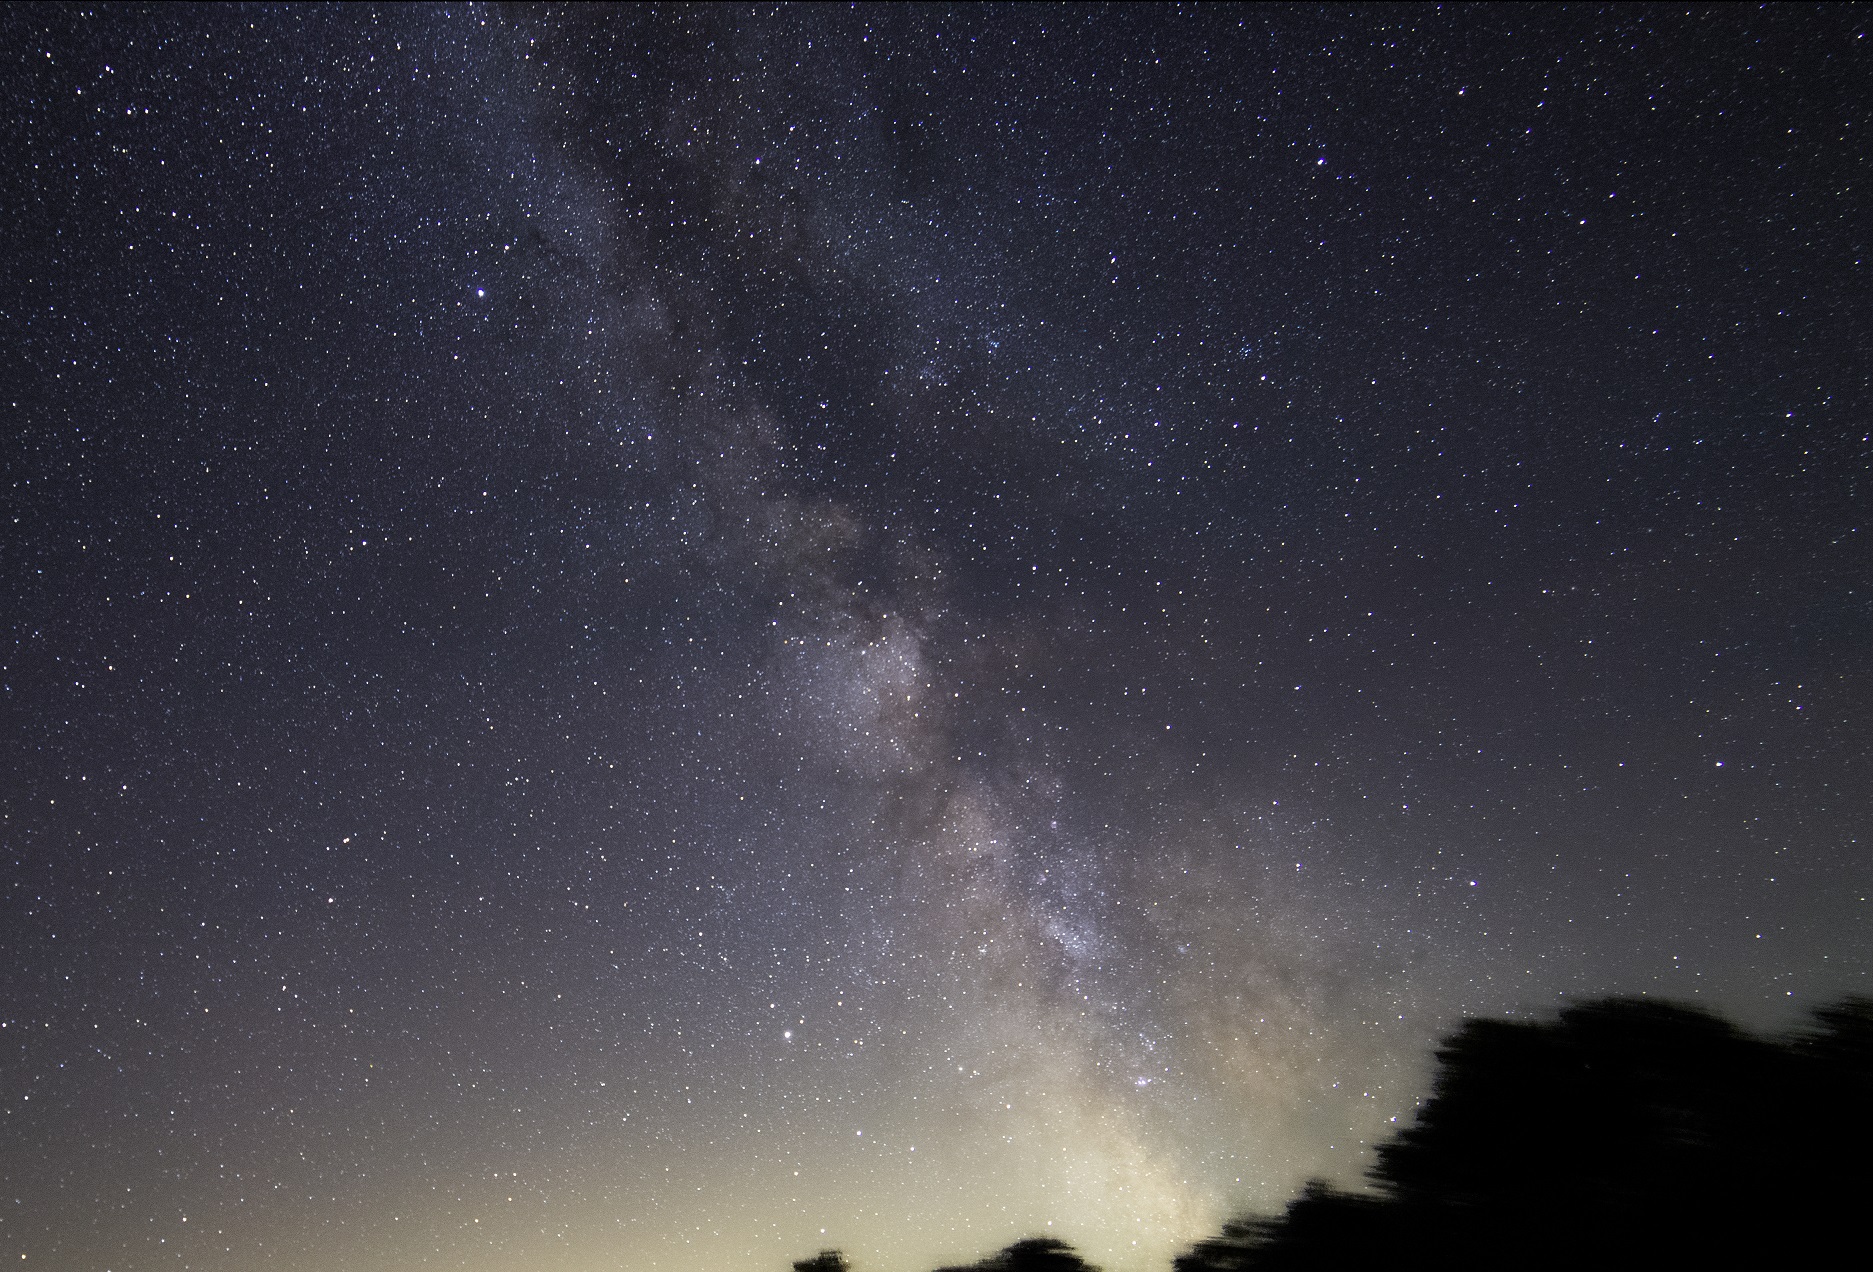
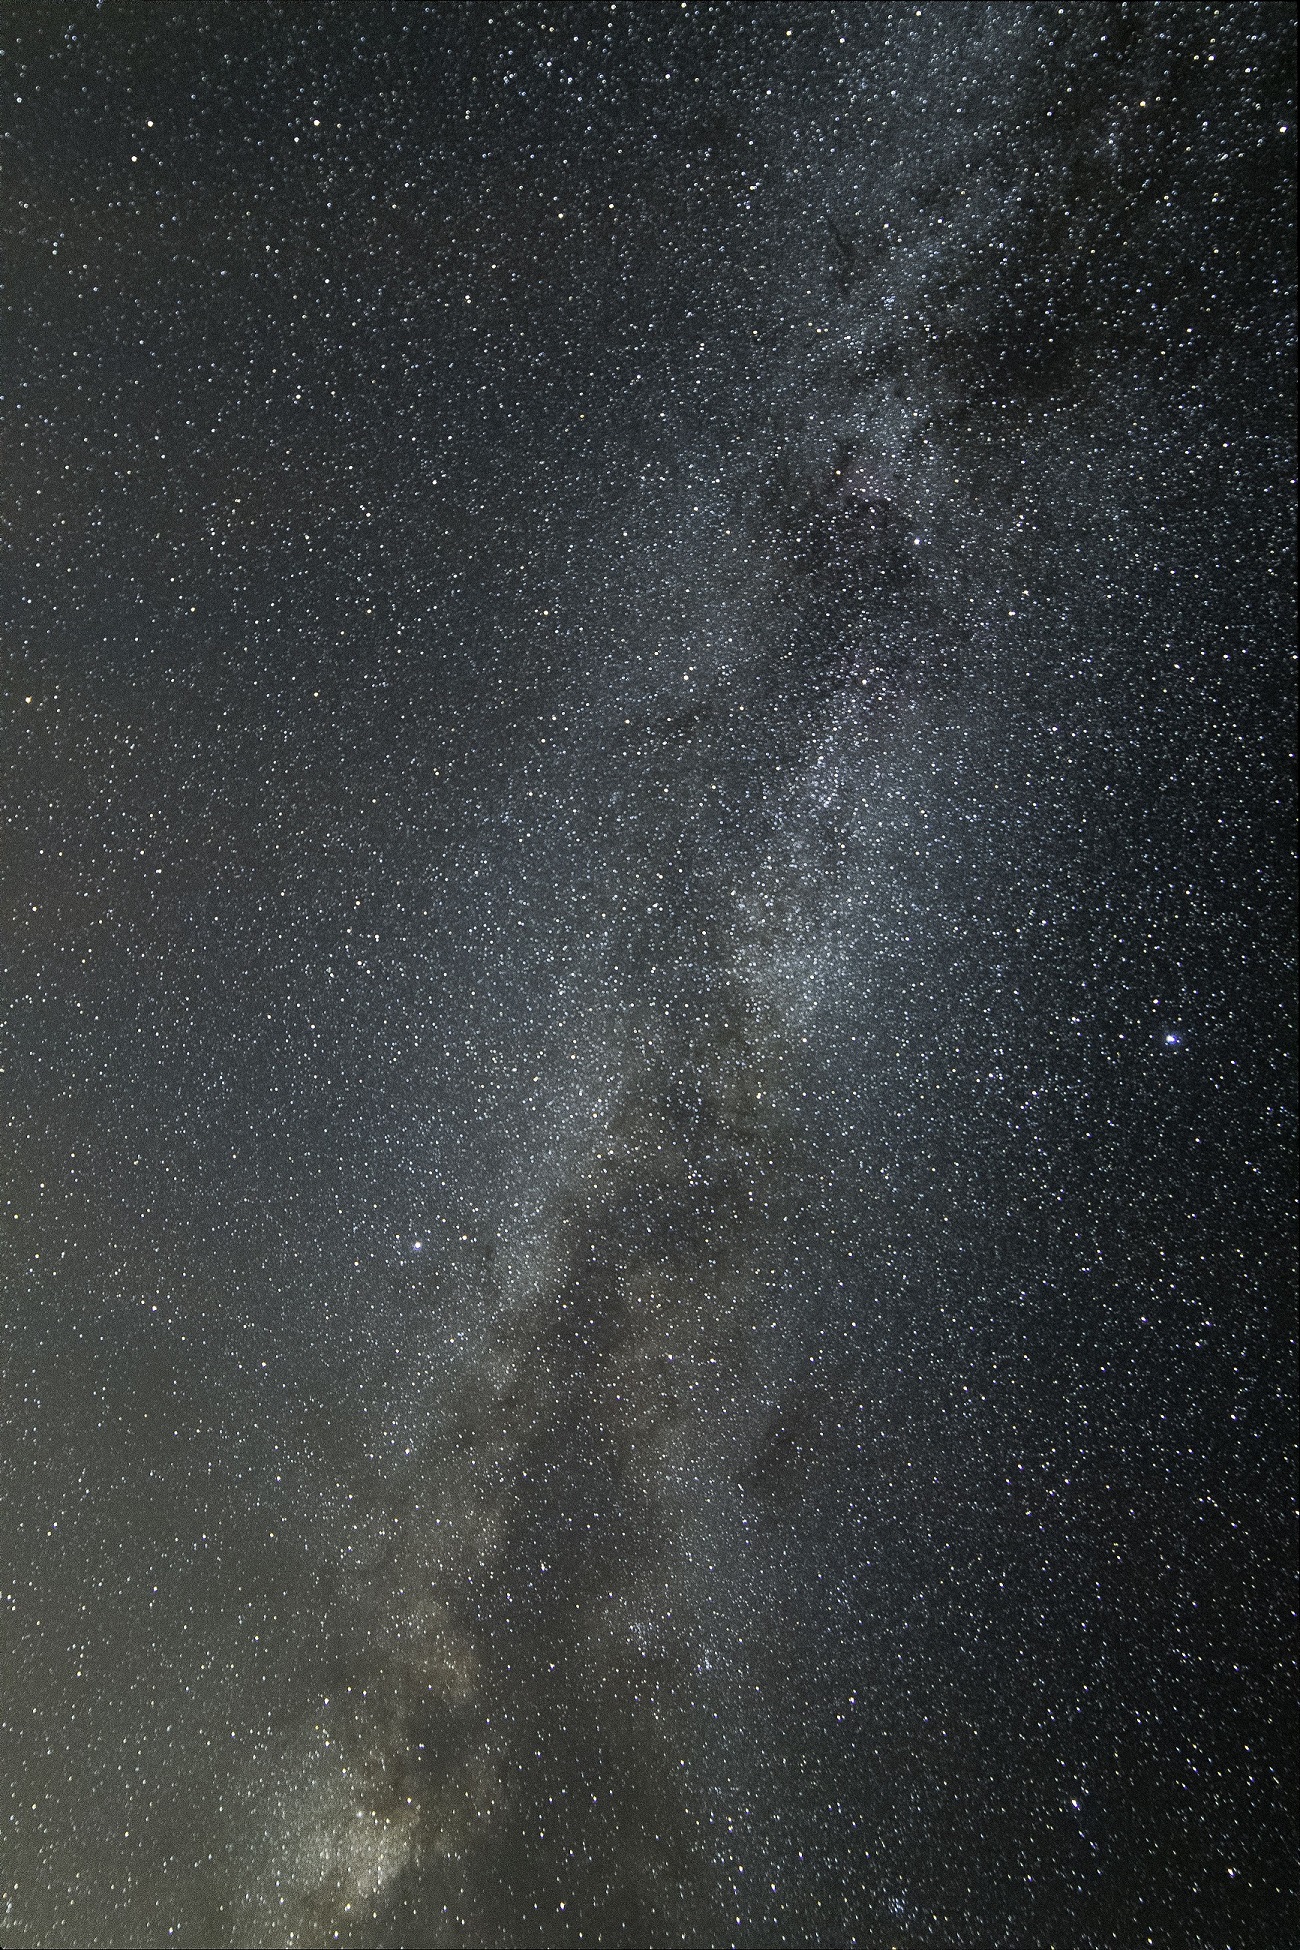
I did the rough edits on these, and feel they can be cleaned up a bit more for better results.
One of the main problems I found with Torrance Barrens is a problem I didn’t know existed. When I went to Torrance back in 2004, nobody knew about it. Astronomers could go and see the stars and observe knowing other observers would respect the space and the hobby.
I found instead a lot of people with bright cell lights randomly appearing throughout the night, and it was tough to stay dark-adjusted and focused. Don’t get me wrong, I’m glad more people are interested in seeing the night sky, and in fairness most don’t know how much of an effect bright lights have on ruining night vision. I’ll give them the benefit of the doubt.
The problem is campers. Camping has increased significantly in the preserve, which would be fine if people were capable of picking up their garbage and not leaving broken glass and junk everywhere as if it was a provincial park. It’s sad to see a hidden gem slowly destroyed by lazy and ignorant people. I want to help to keep it clean and pristine for all to enjoy. Rant over.
The takeaway from this night is that I was able to familiarize myself with the new telescope and get a feel for moving it, controlling it, and working with it. Once the motorized mount works it will point toward any object automatically, but I really enjoyed getting to ‘know’ the new telescope through hardship. That’s how I’ve learned nearly everything I know about observing and astrophotography.
Three Nights at Providence:
Providence Bay, on Manitoulin Island. A place I went many times as a child, and I was happy to be back there among good Haweaters (local islanders) and gorgeous dark skies. With no major towns or cities around, the skies are usually among the best that can be seen in the southern half of Ontario.
Although I had three nights, I only used the telescope during the first two. I wanted some time to enjoy a fire with Kate (my wife and observing assistant) and to just enjoy the night sky without the focus needed for photography and telescope setup. It’s actually amazing how focusing on capturing images of the night sky can prevent you from looking at it.
I had fixed the alignment issue and after a few attempts I was able to get the scope aligned pretty well. The alignment was off a bit and some drift was noticeable after a minute or so, but I’ll take it. This was my first time having a telescope that would move itself with the push of a button.
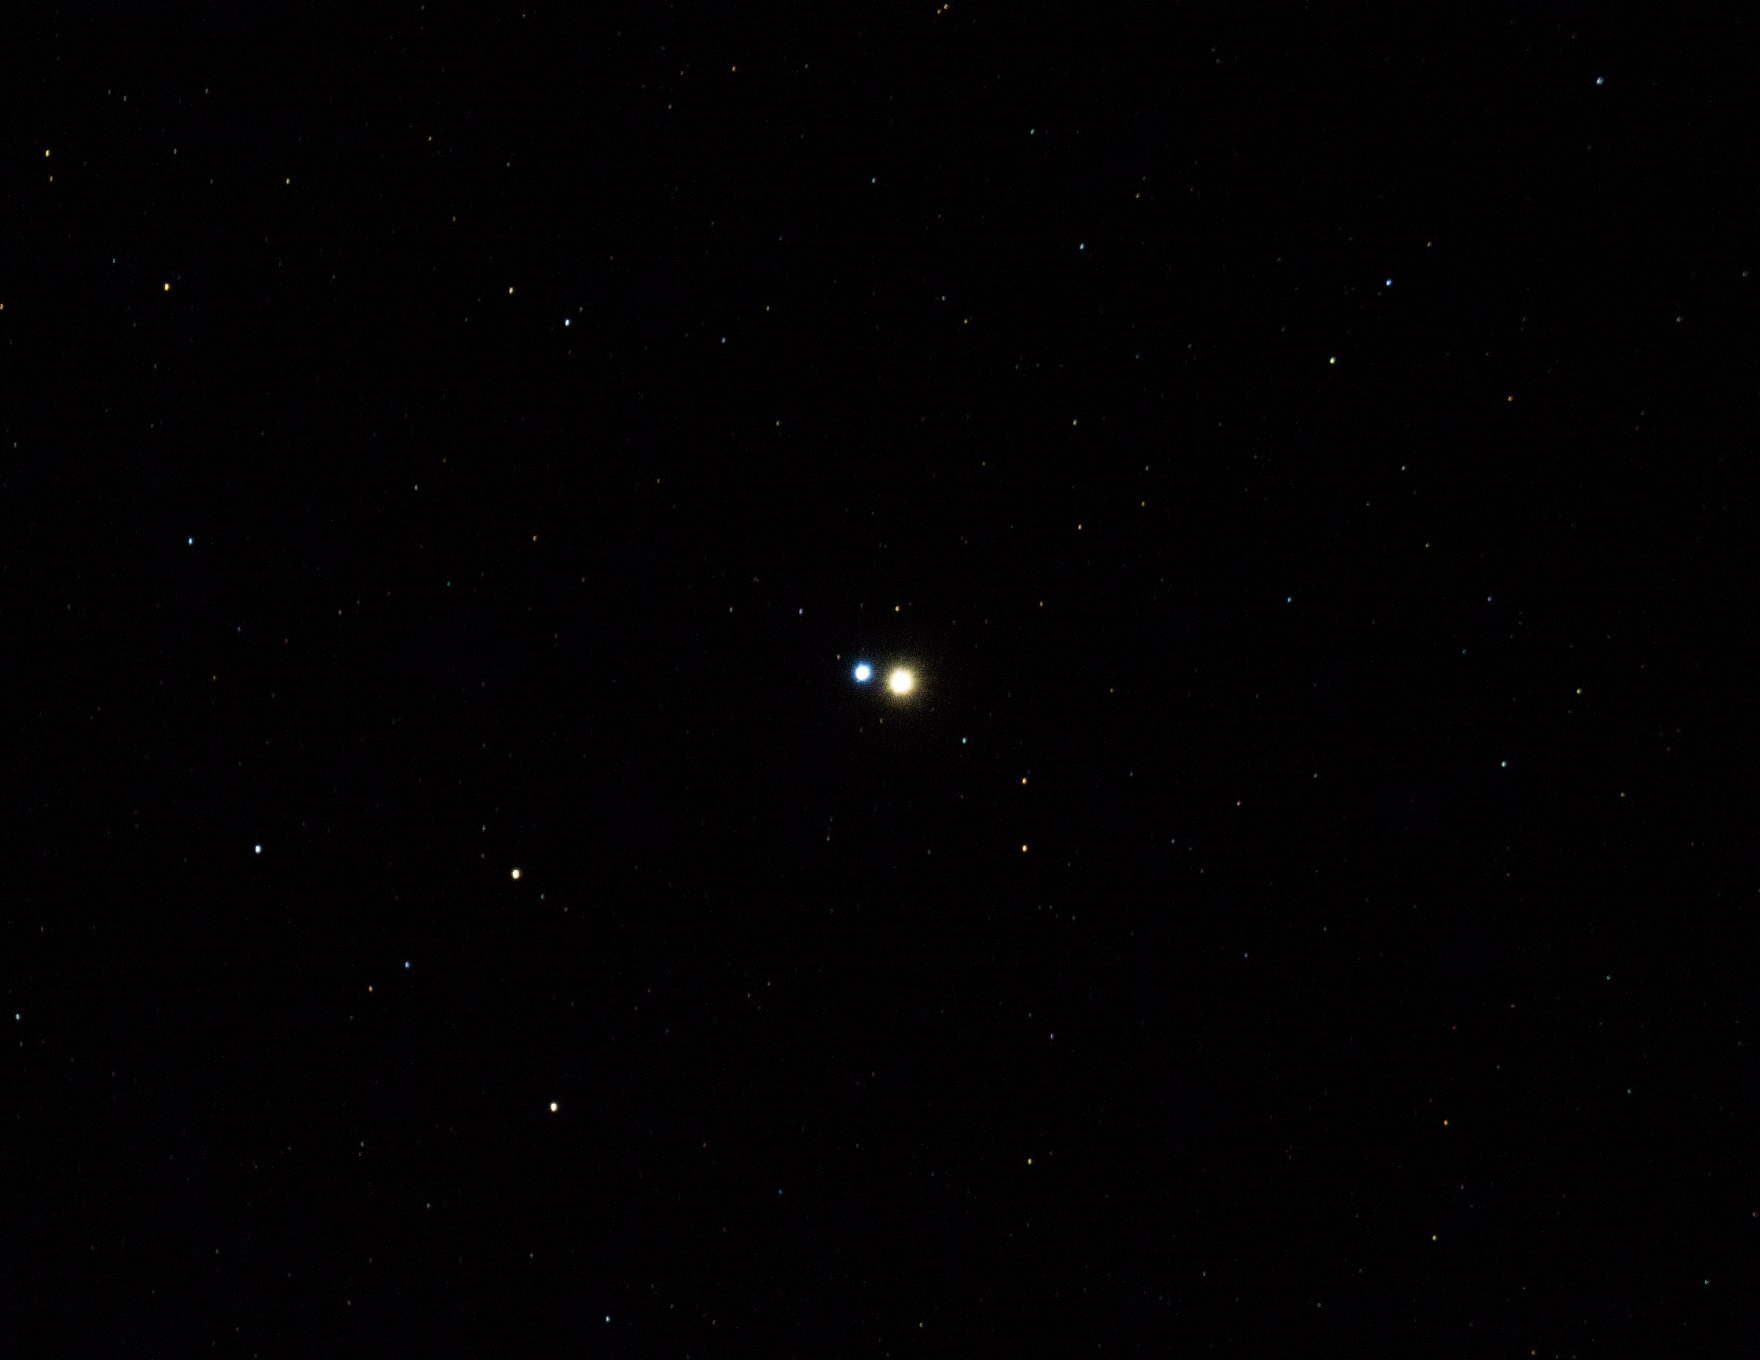
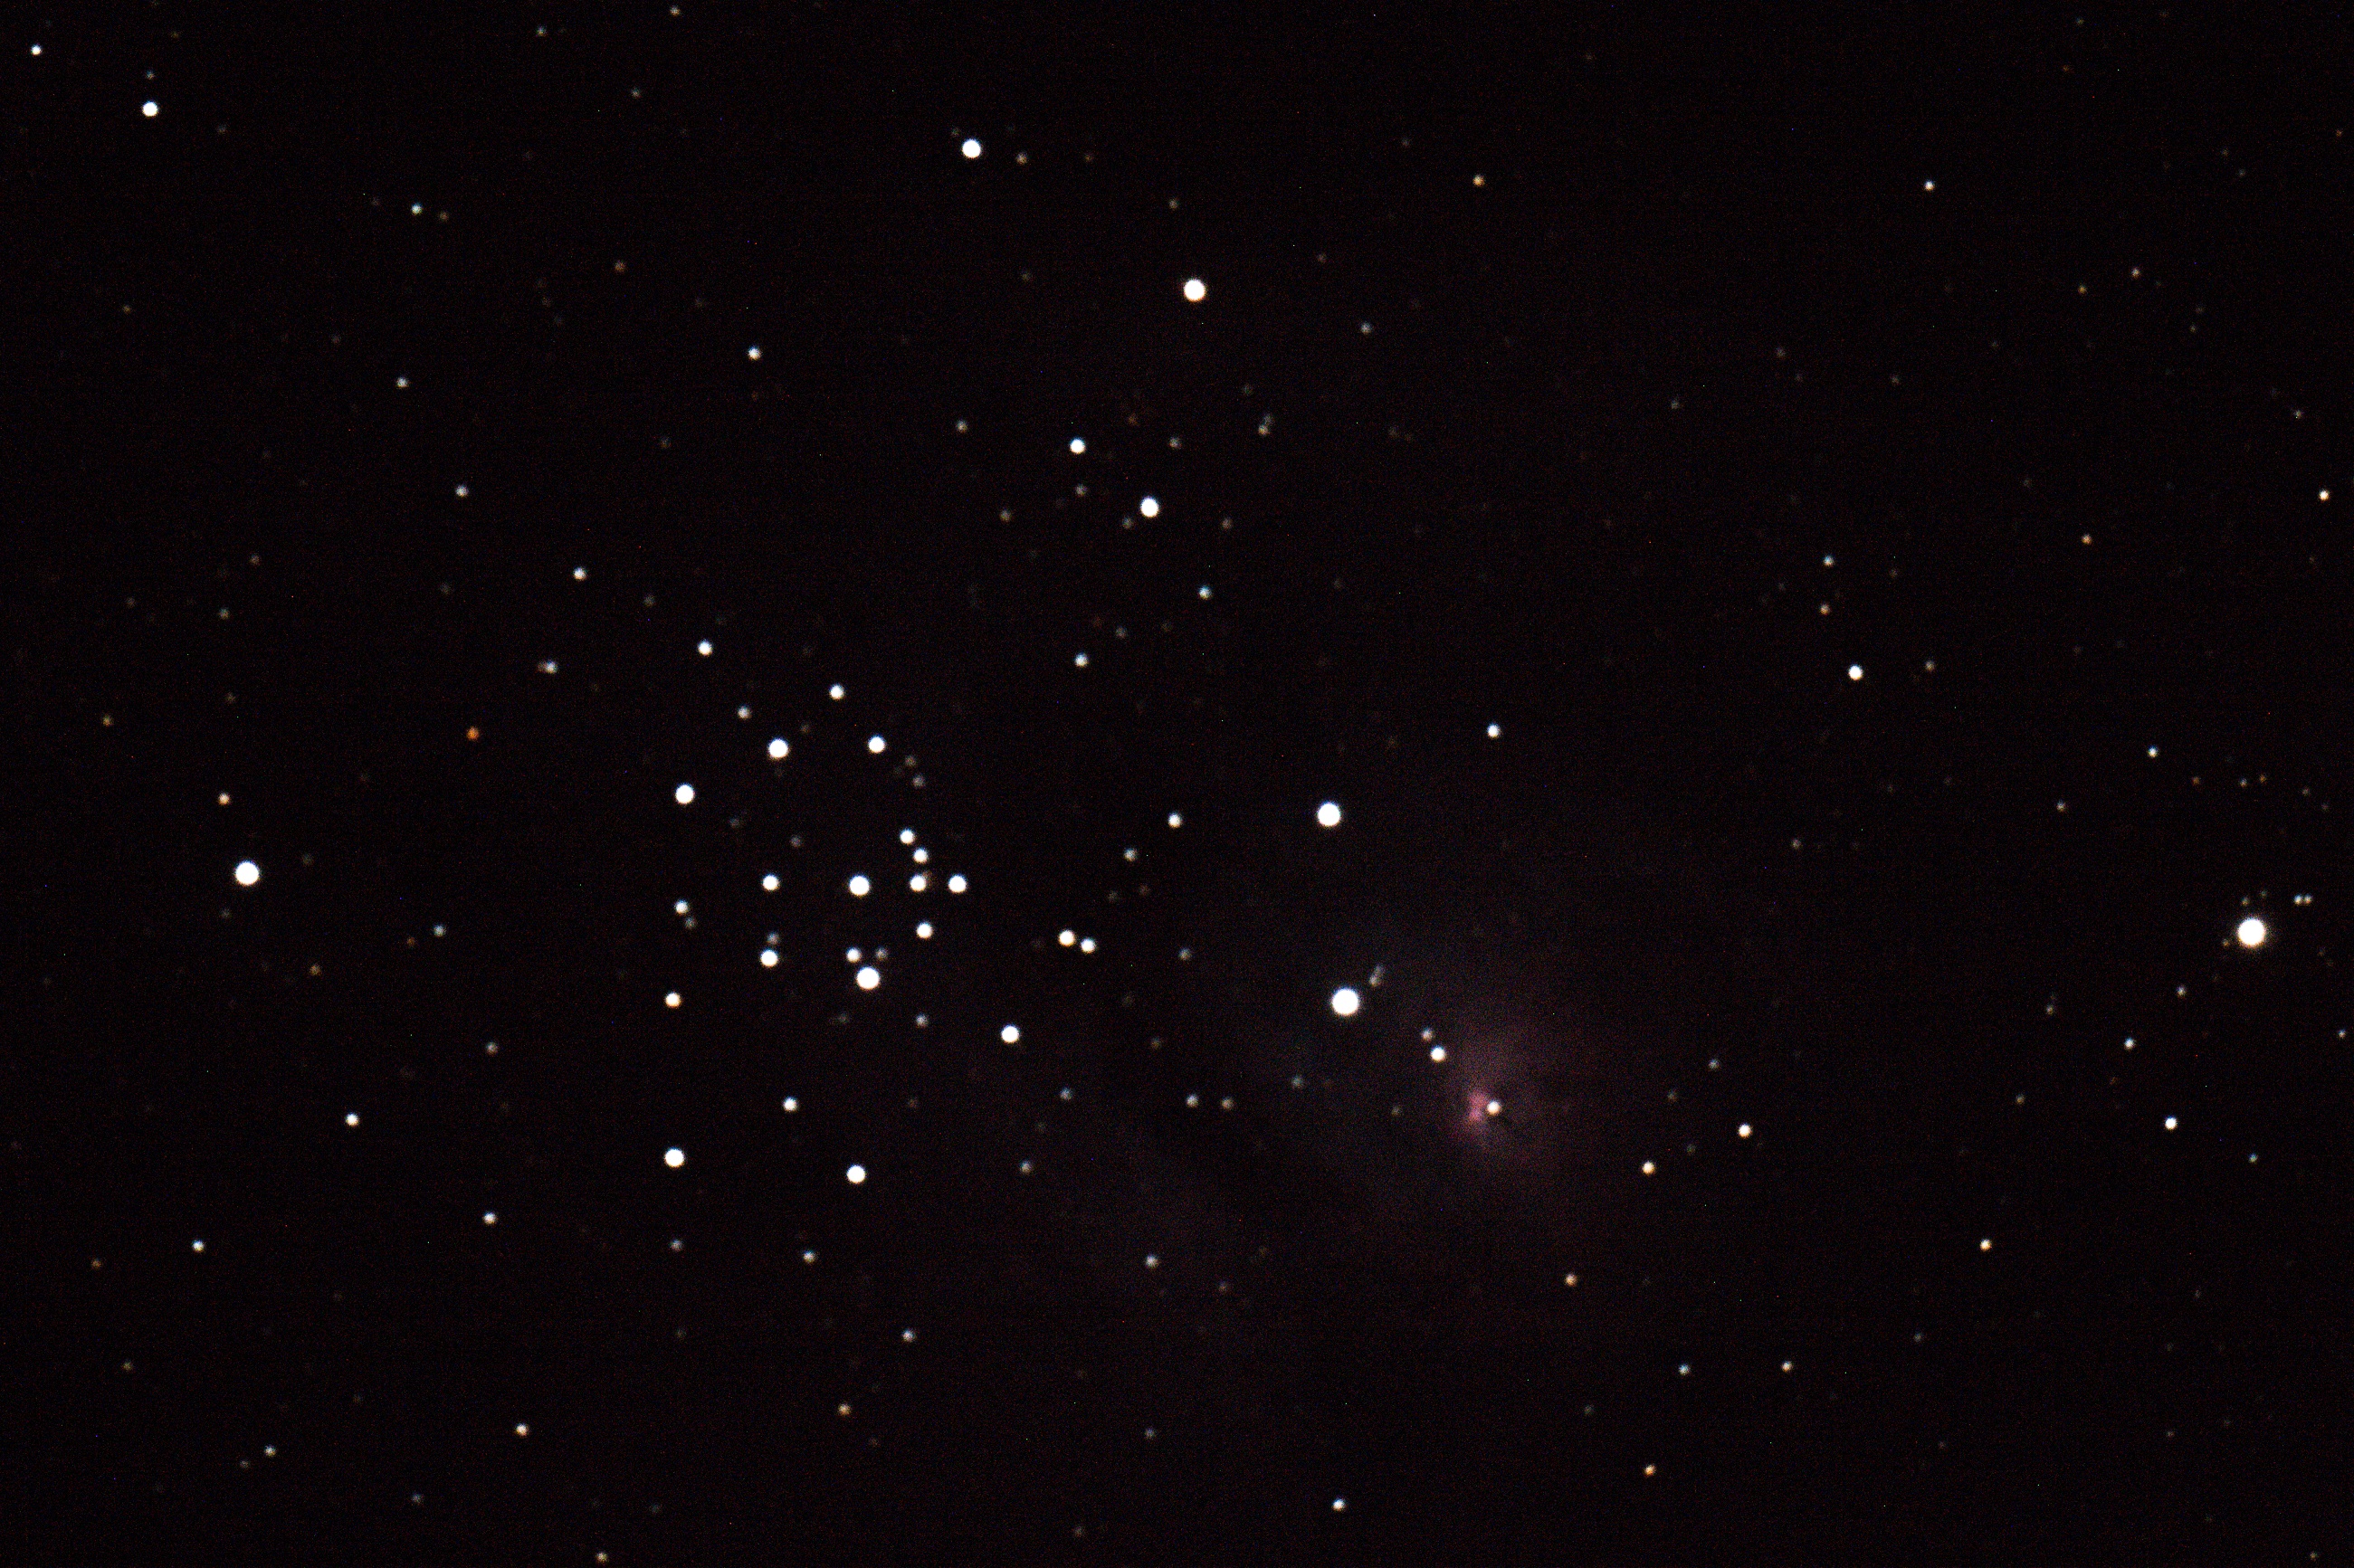
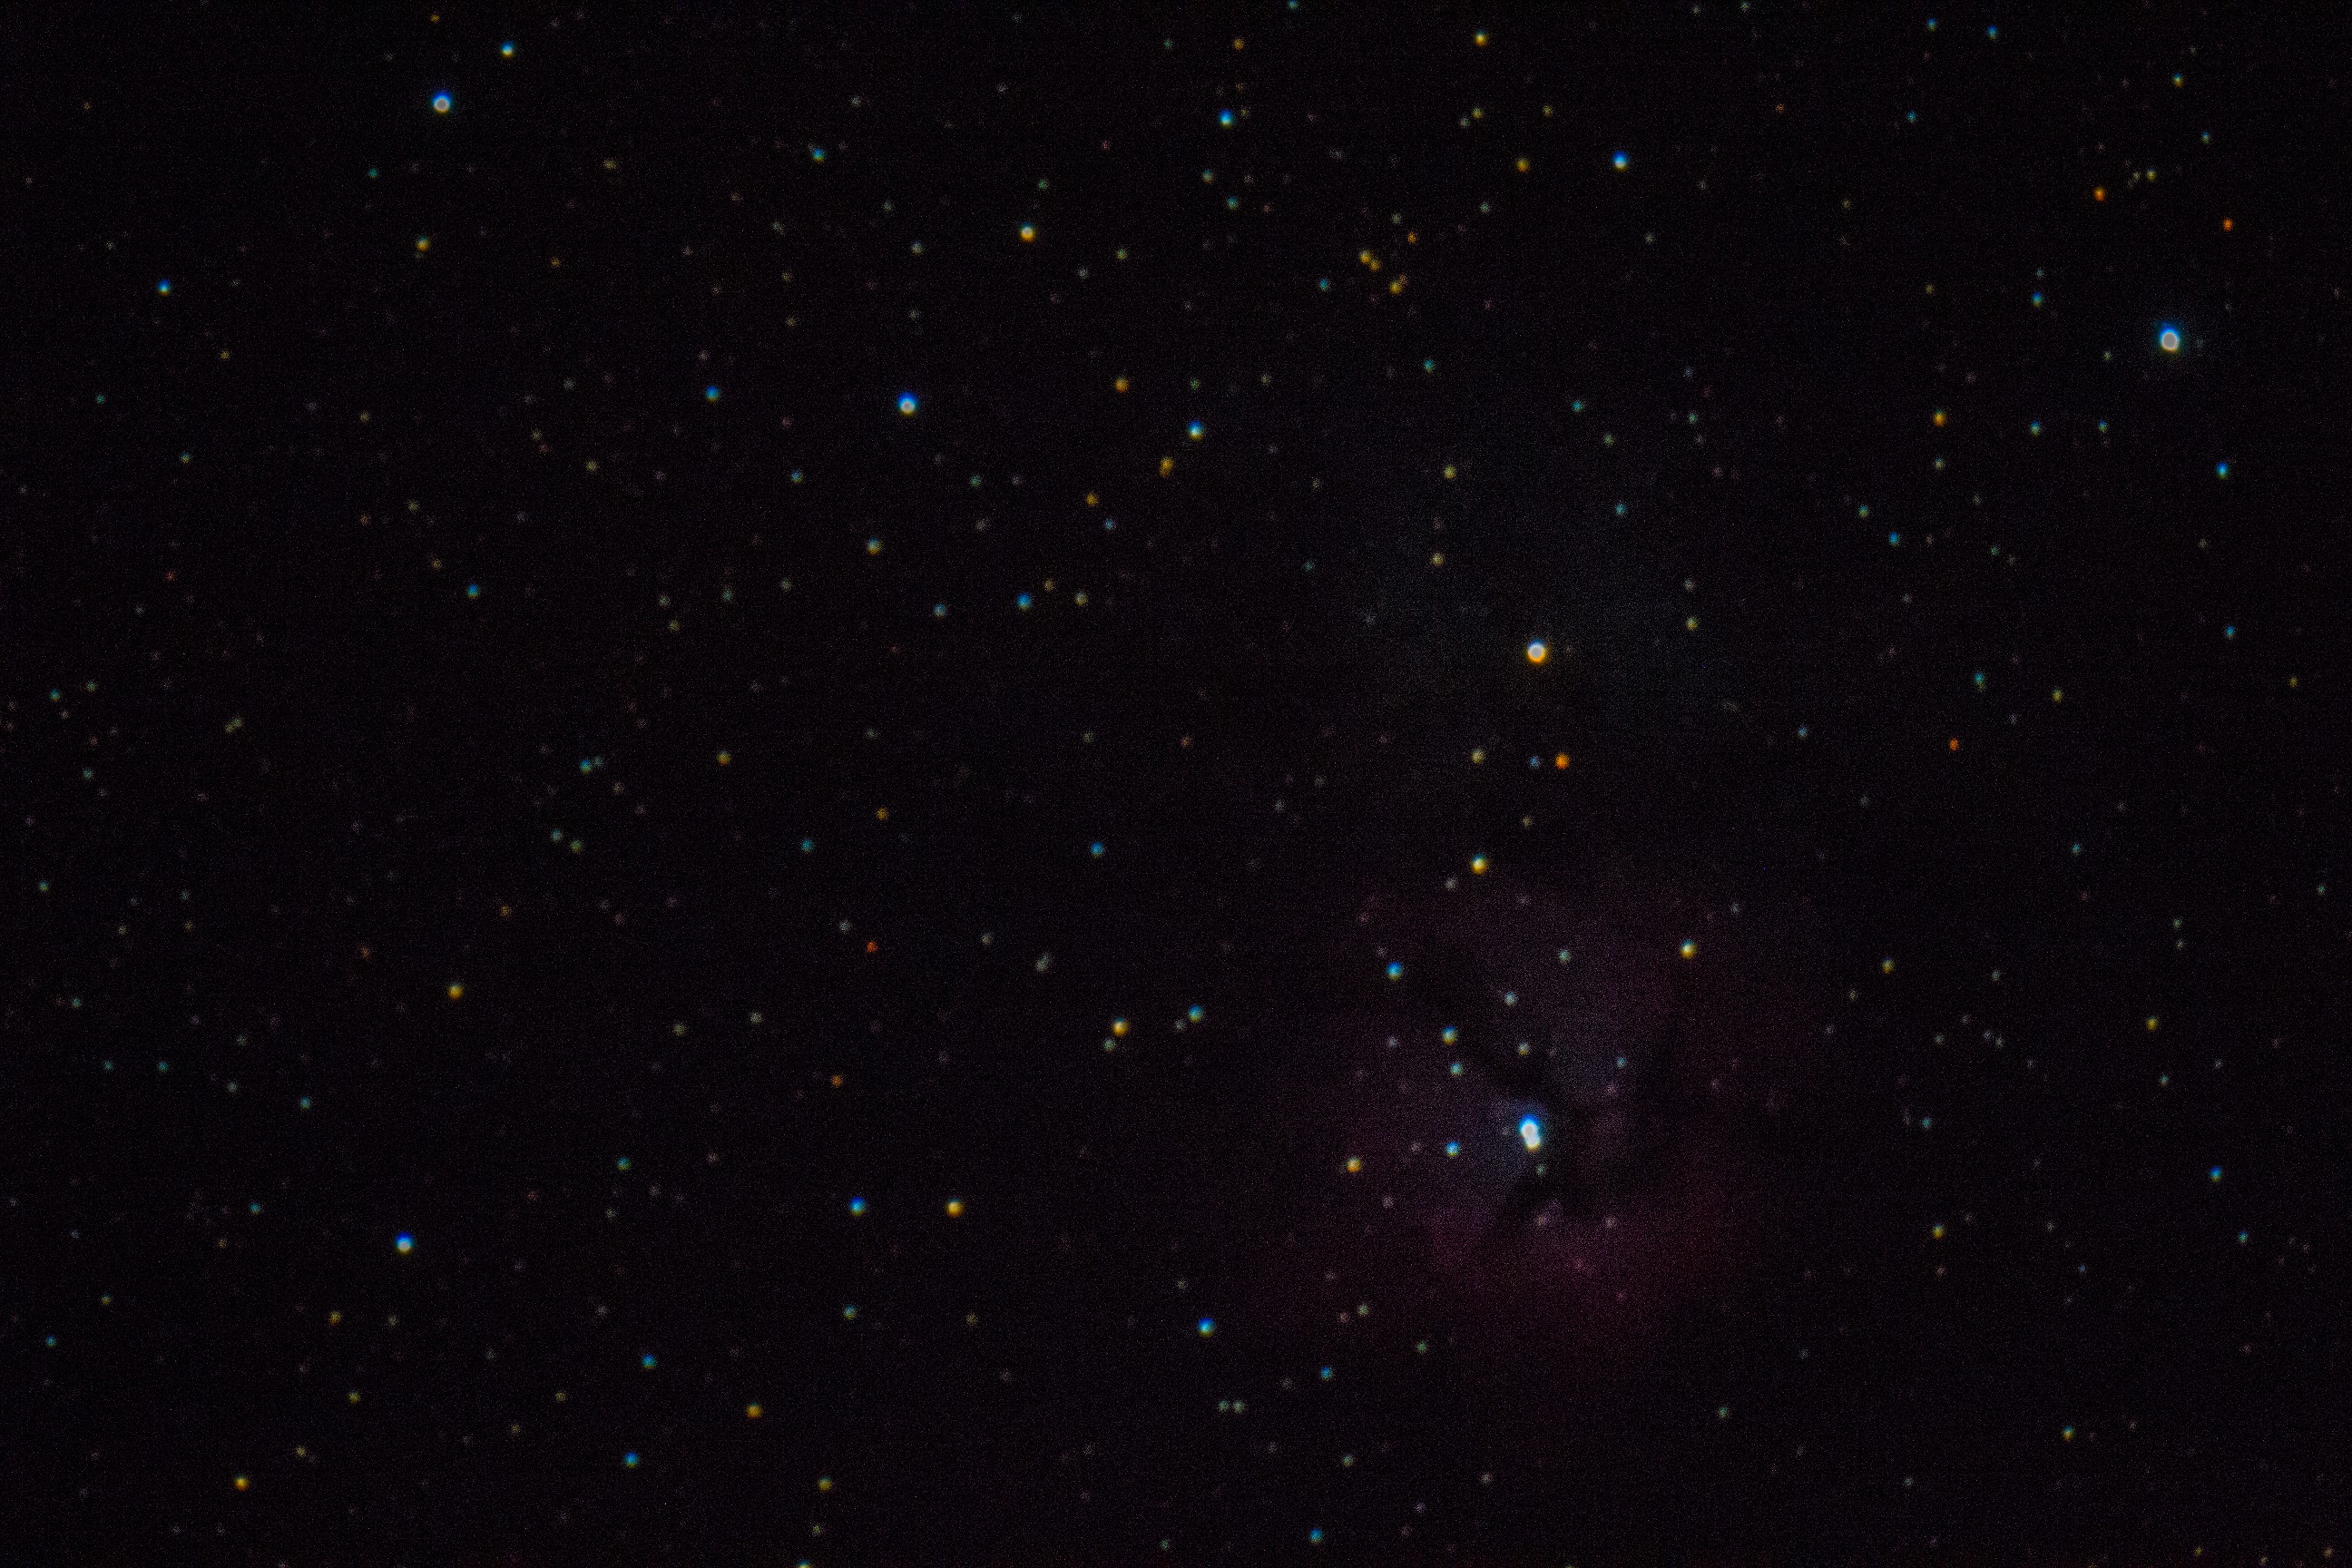
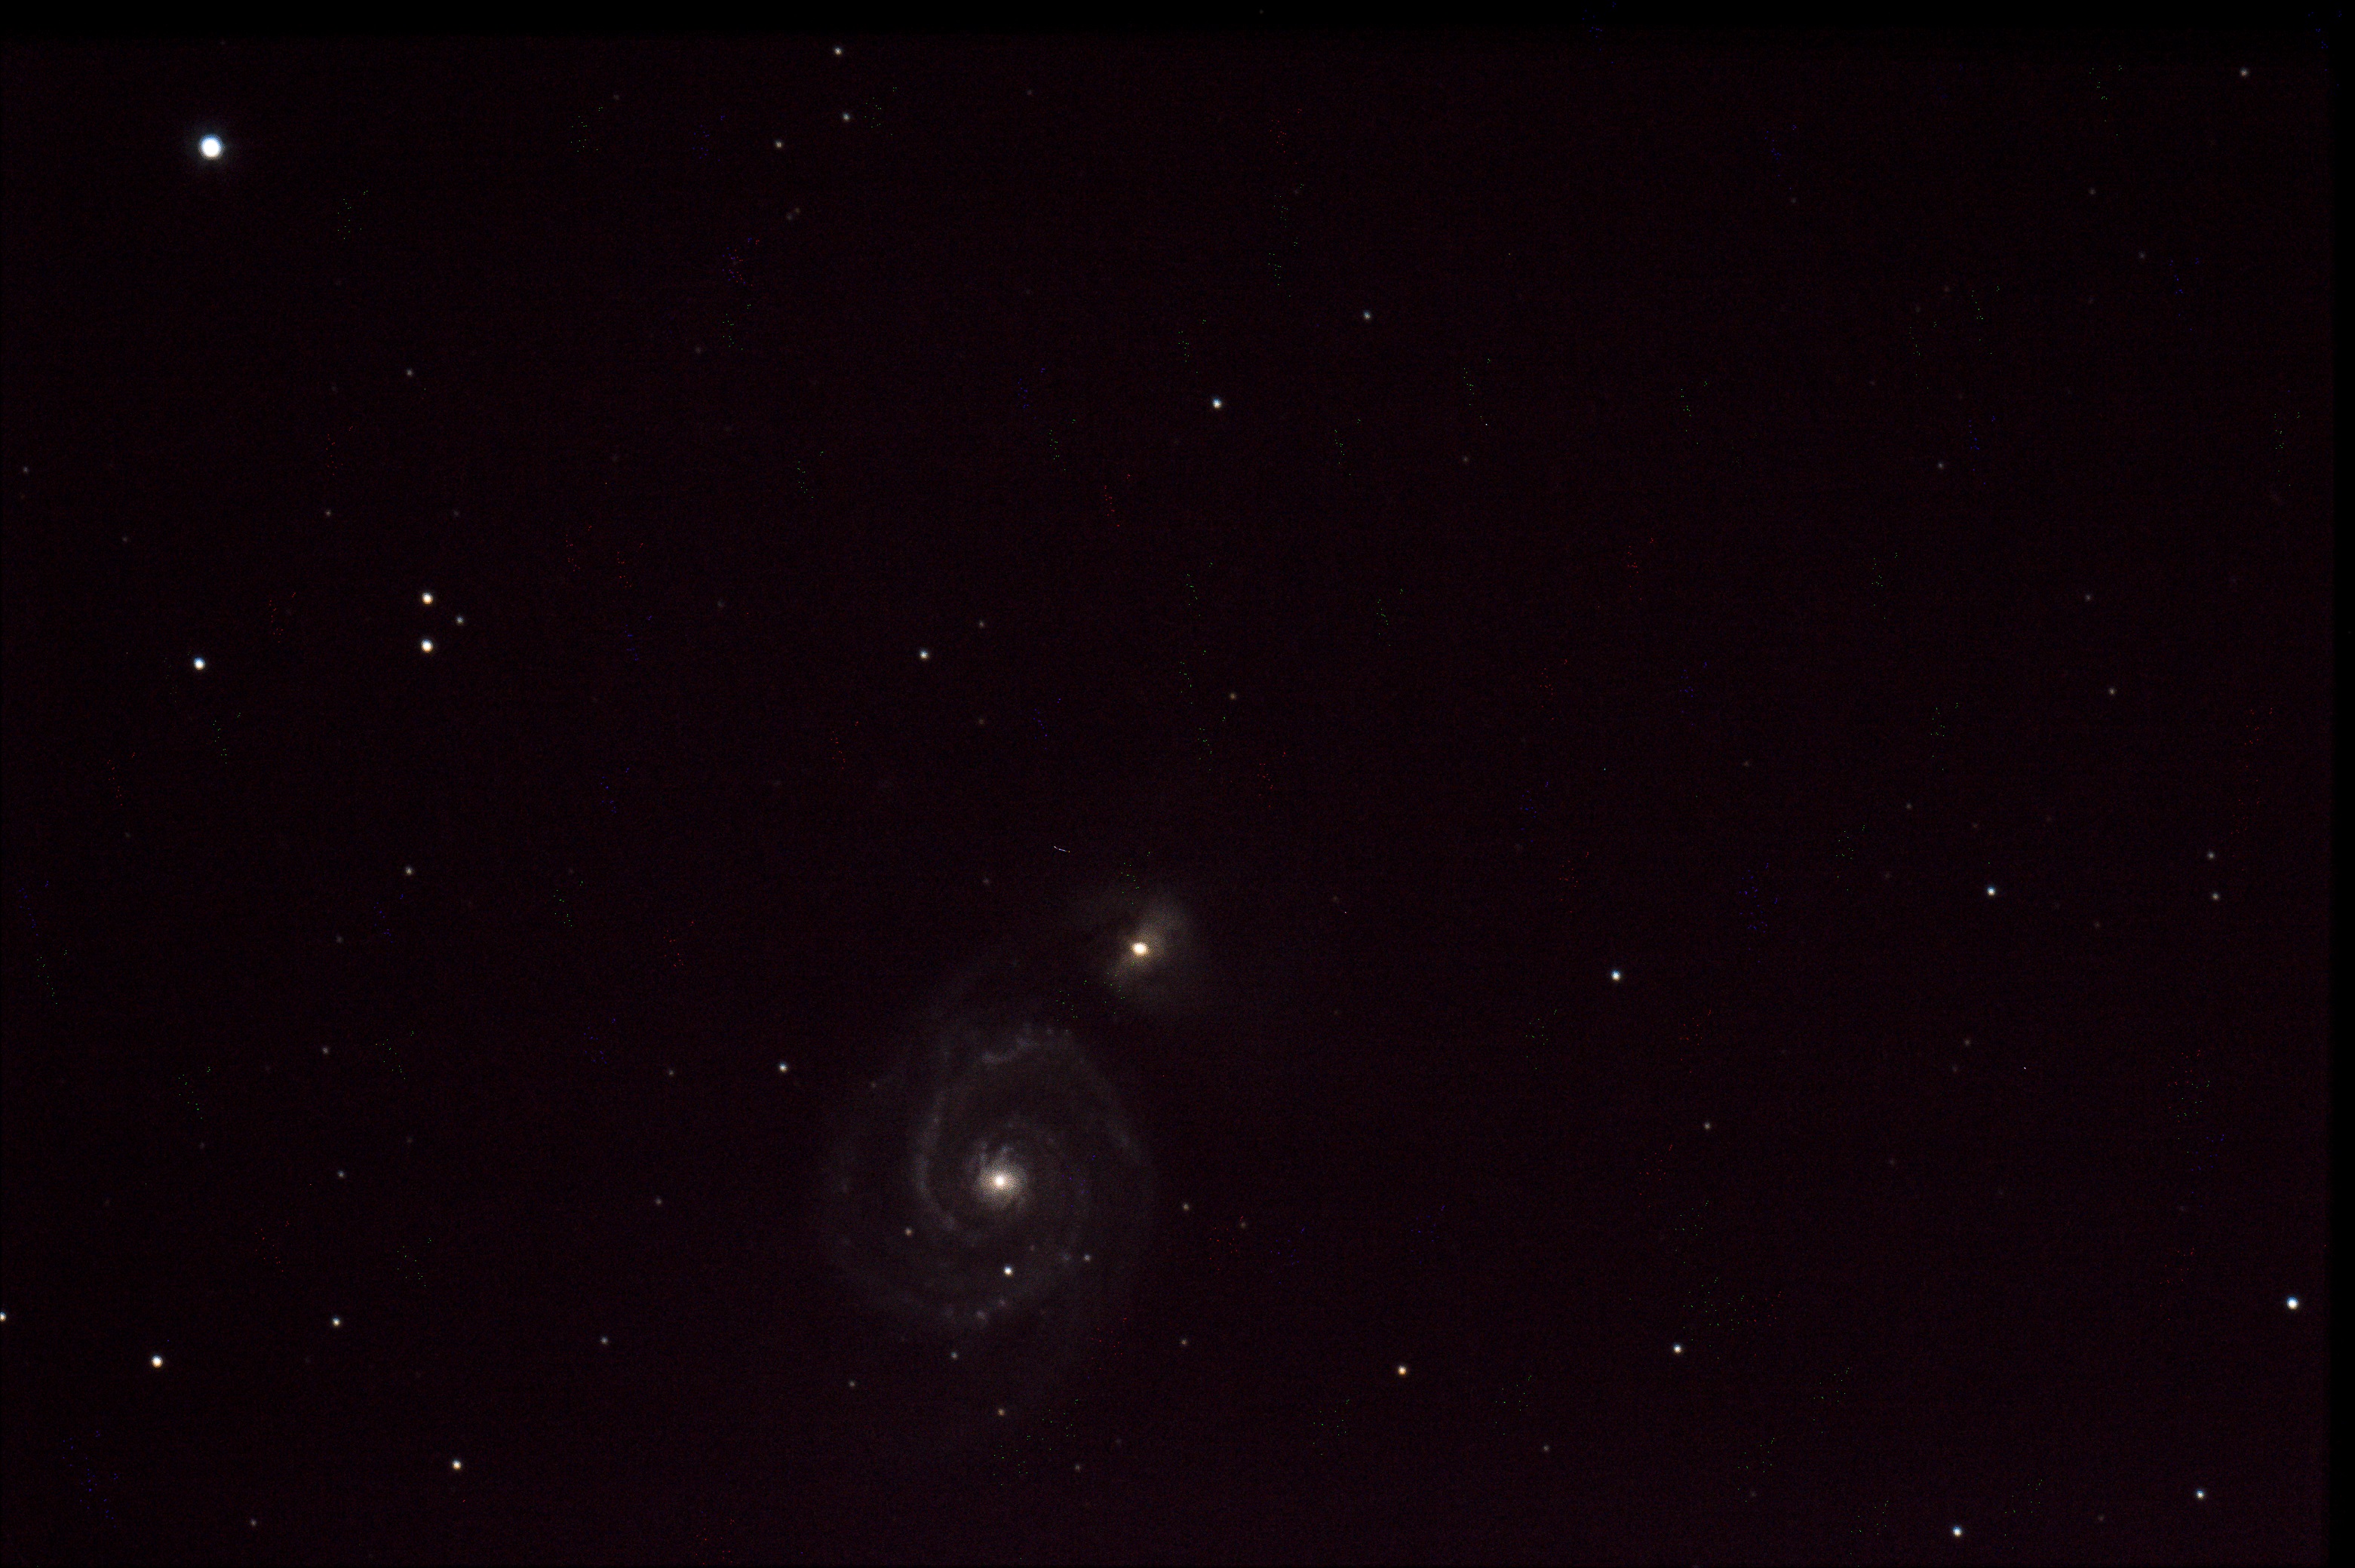
In quick succession, we looked at a dozen amazing targets: The Hercules Globular Cluster, the Ring Nebula, Jupiter and Saturn and their moons, Albireo, the Whirlpool Galaxy, and several other nebulae! It was amazing to see things I hadn’t been able to see through a telescope before, as well as some old friends!
A few people walked by and I was able to share the view with them, which made the night even better. As much as I love observing, my true passion is sharing space with others.
Now onto the photography. Having never used the telescope as a camera lens before, most of my imaging over the two nights was spent testing out exposures to see how large the field of view was, and what kind of time I would need to get good shots of objects I’d never photographed before.
I took all the pics at a noisy 6400 ISO for 30 seconds at most. It led to a lot of poor quality images, but with a bit of cleaning I’m still proud of them. More importantly, I learned exactly what was needed to take better images the next time around, and I took notes so I won’t have to relearn everything later.
Here are my images, with details in the captions:
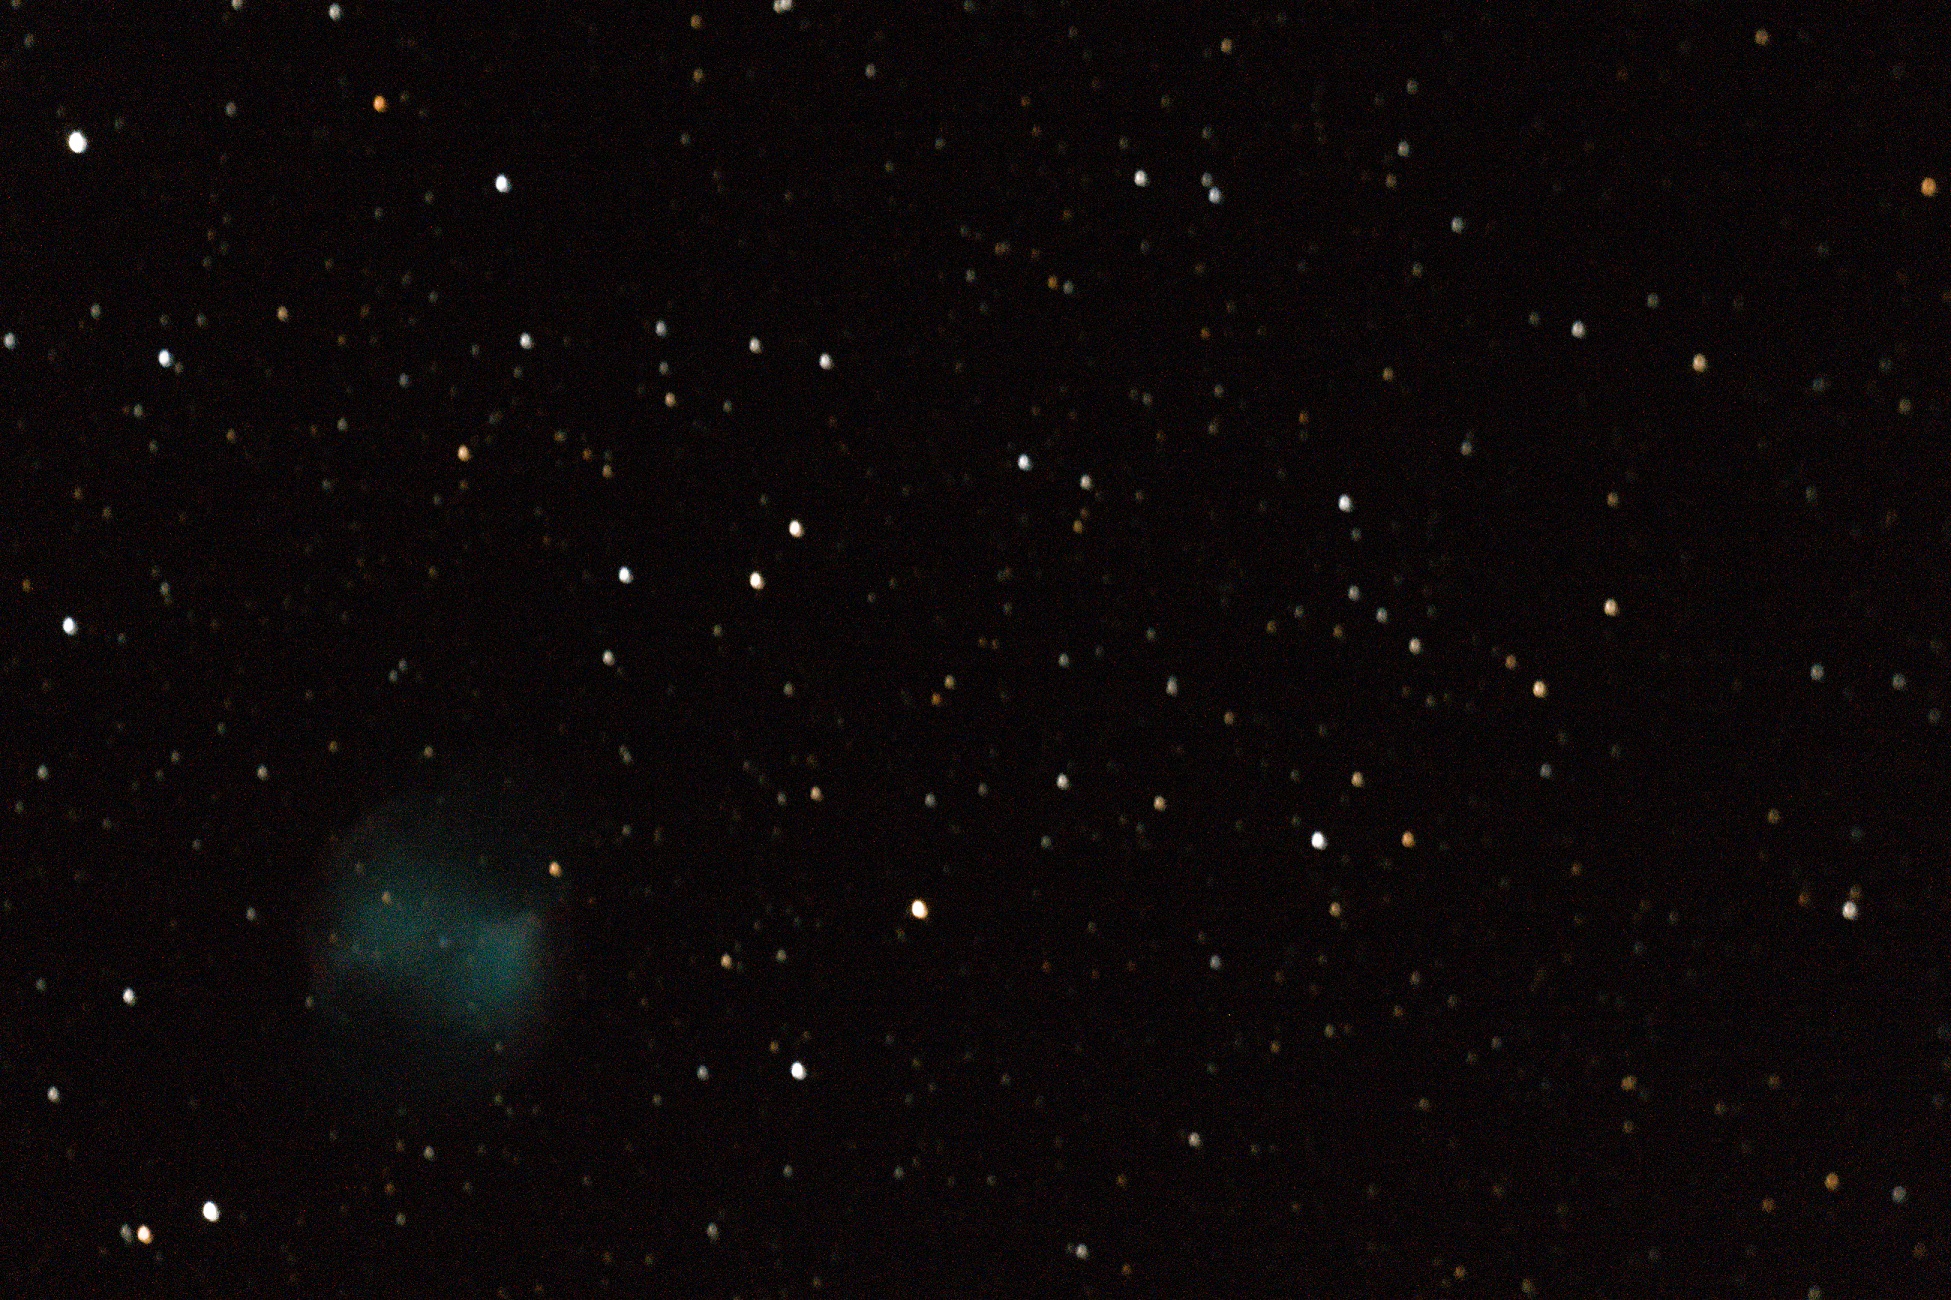
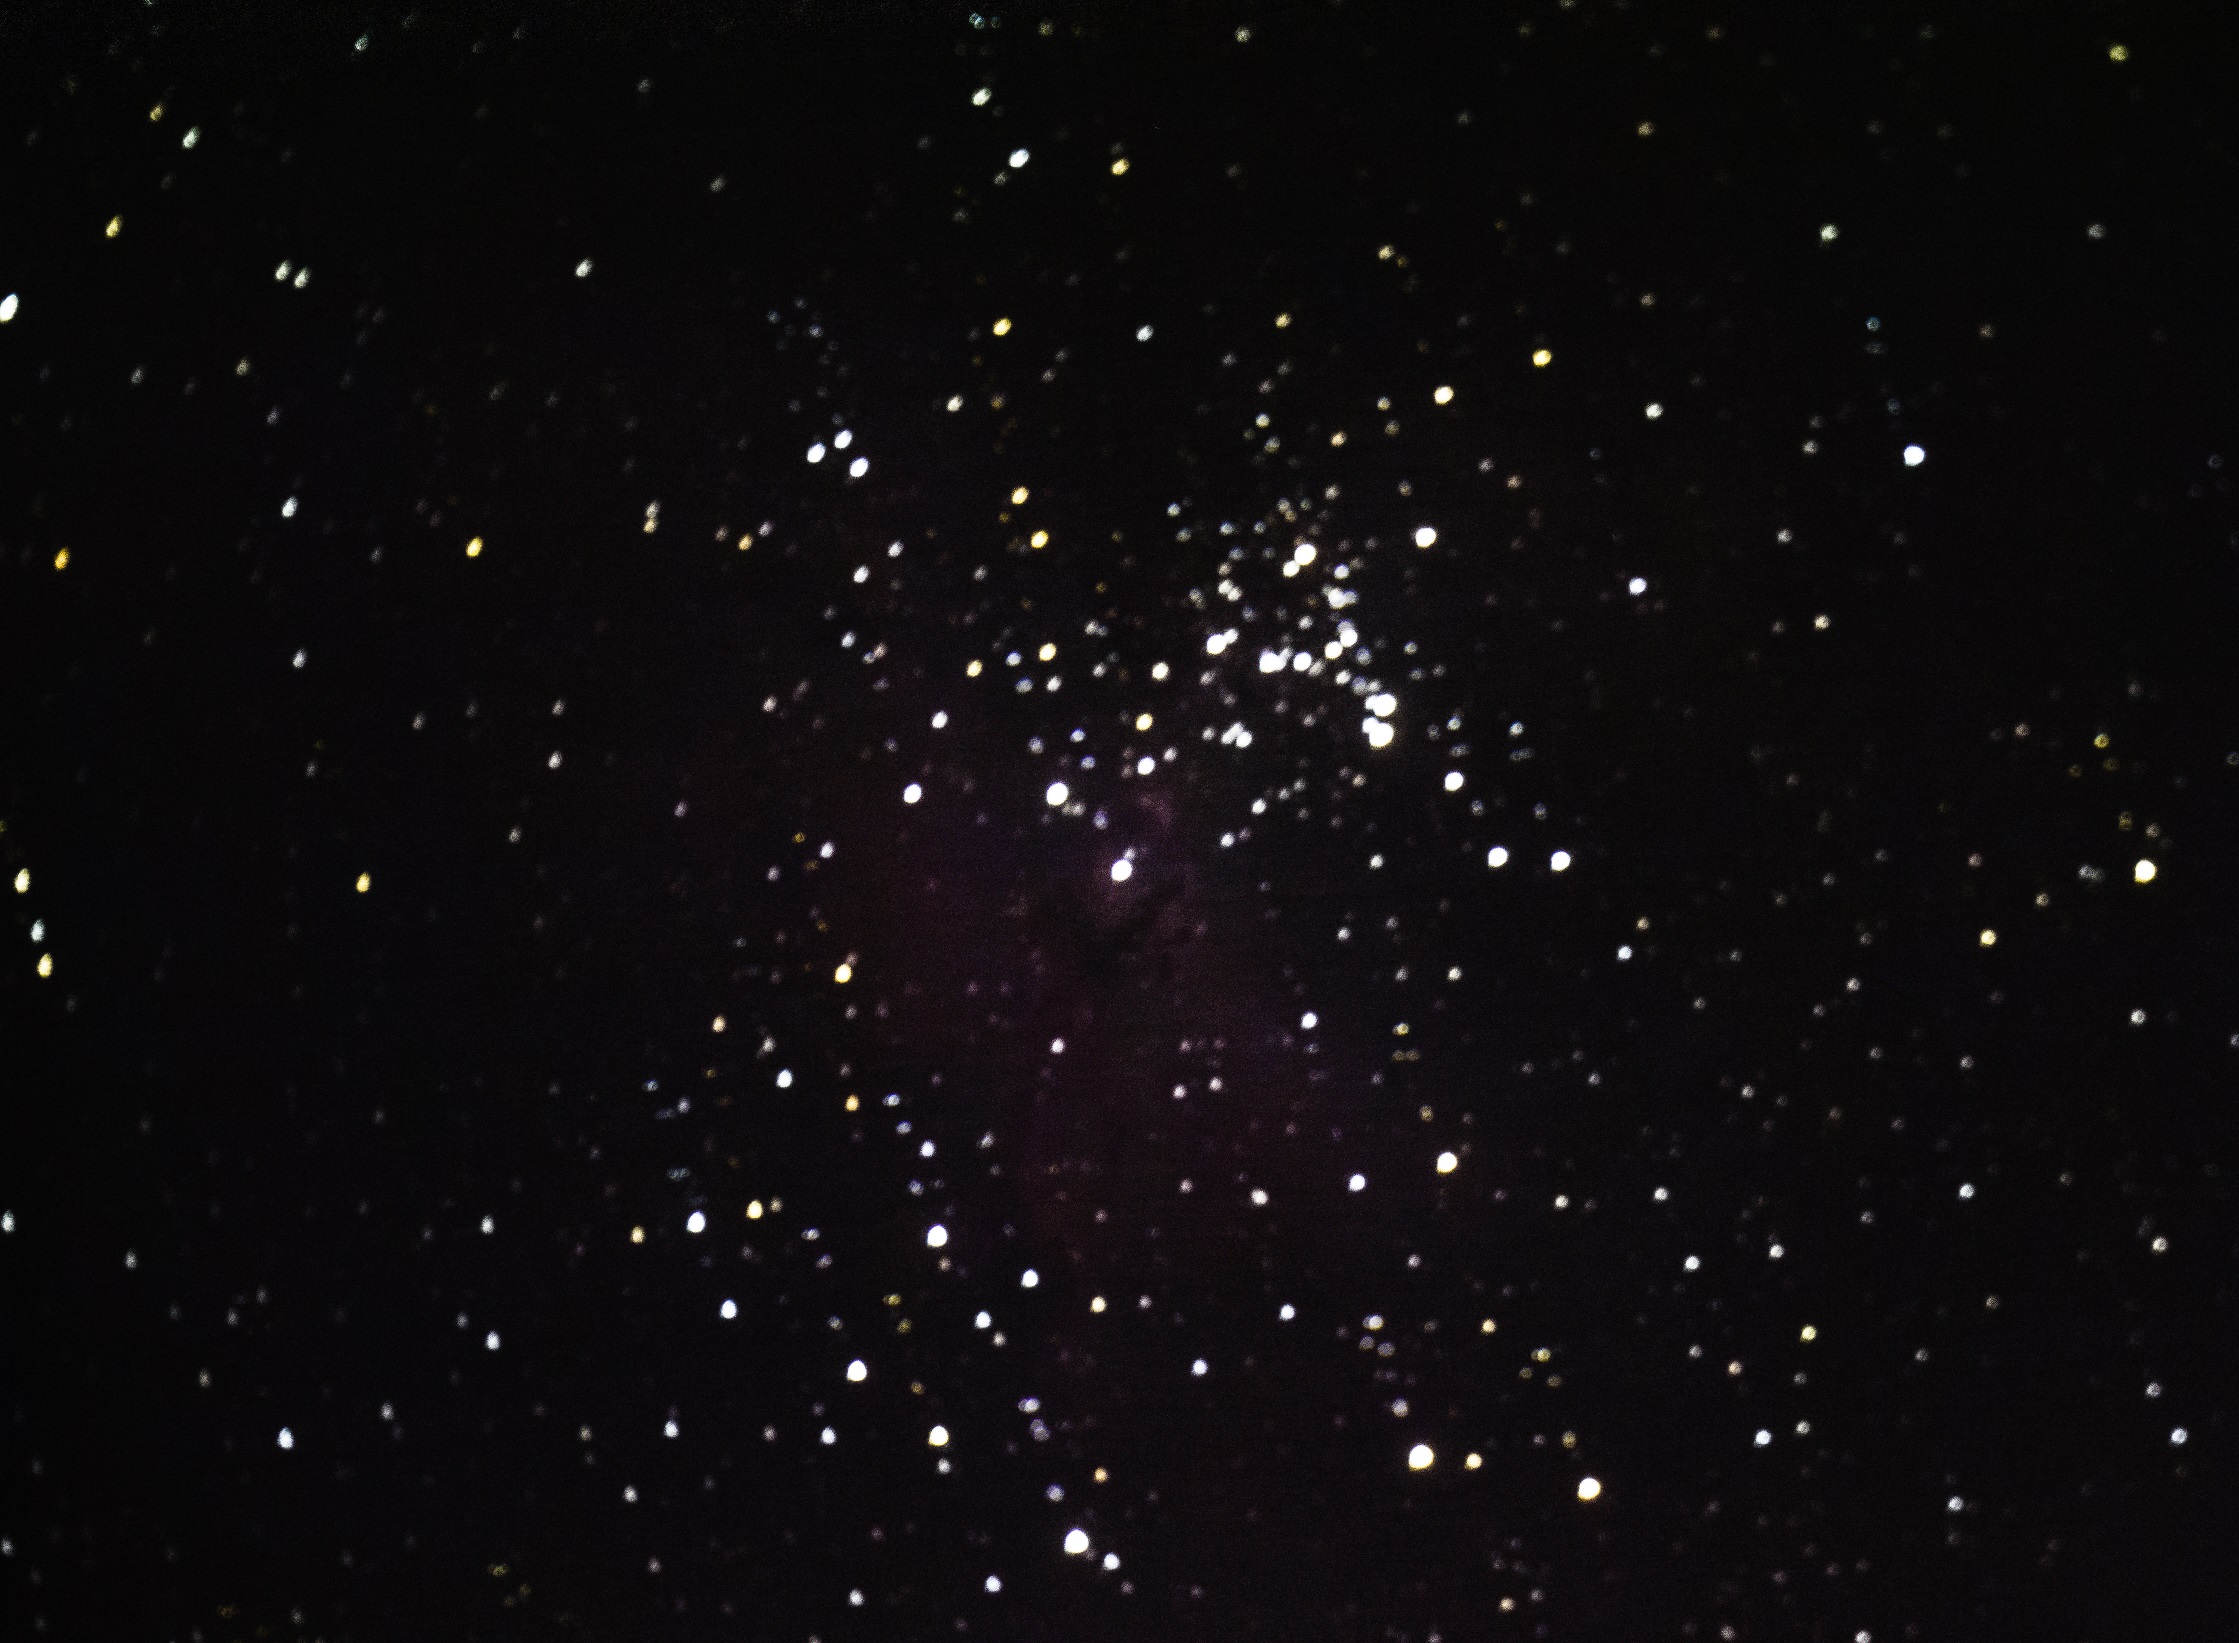
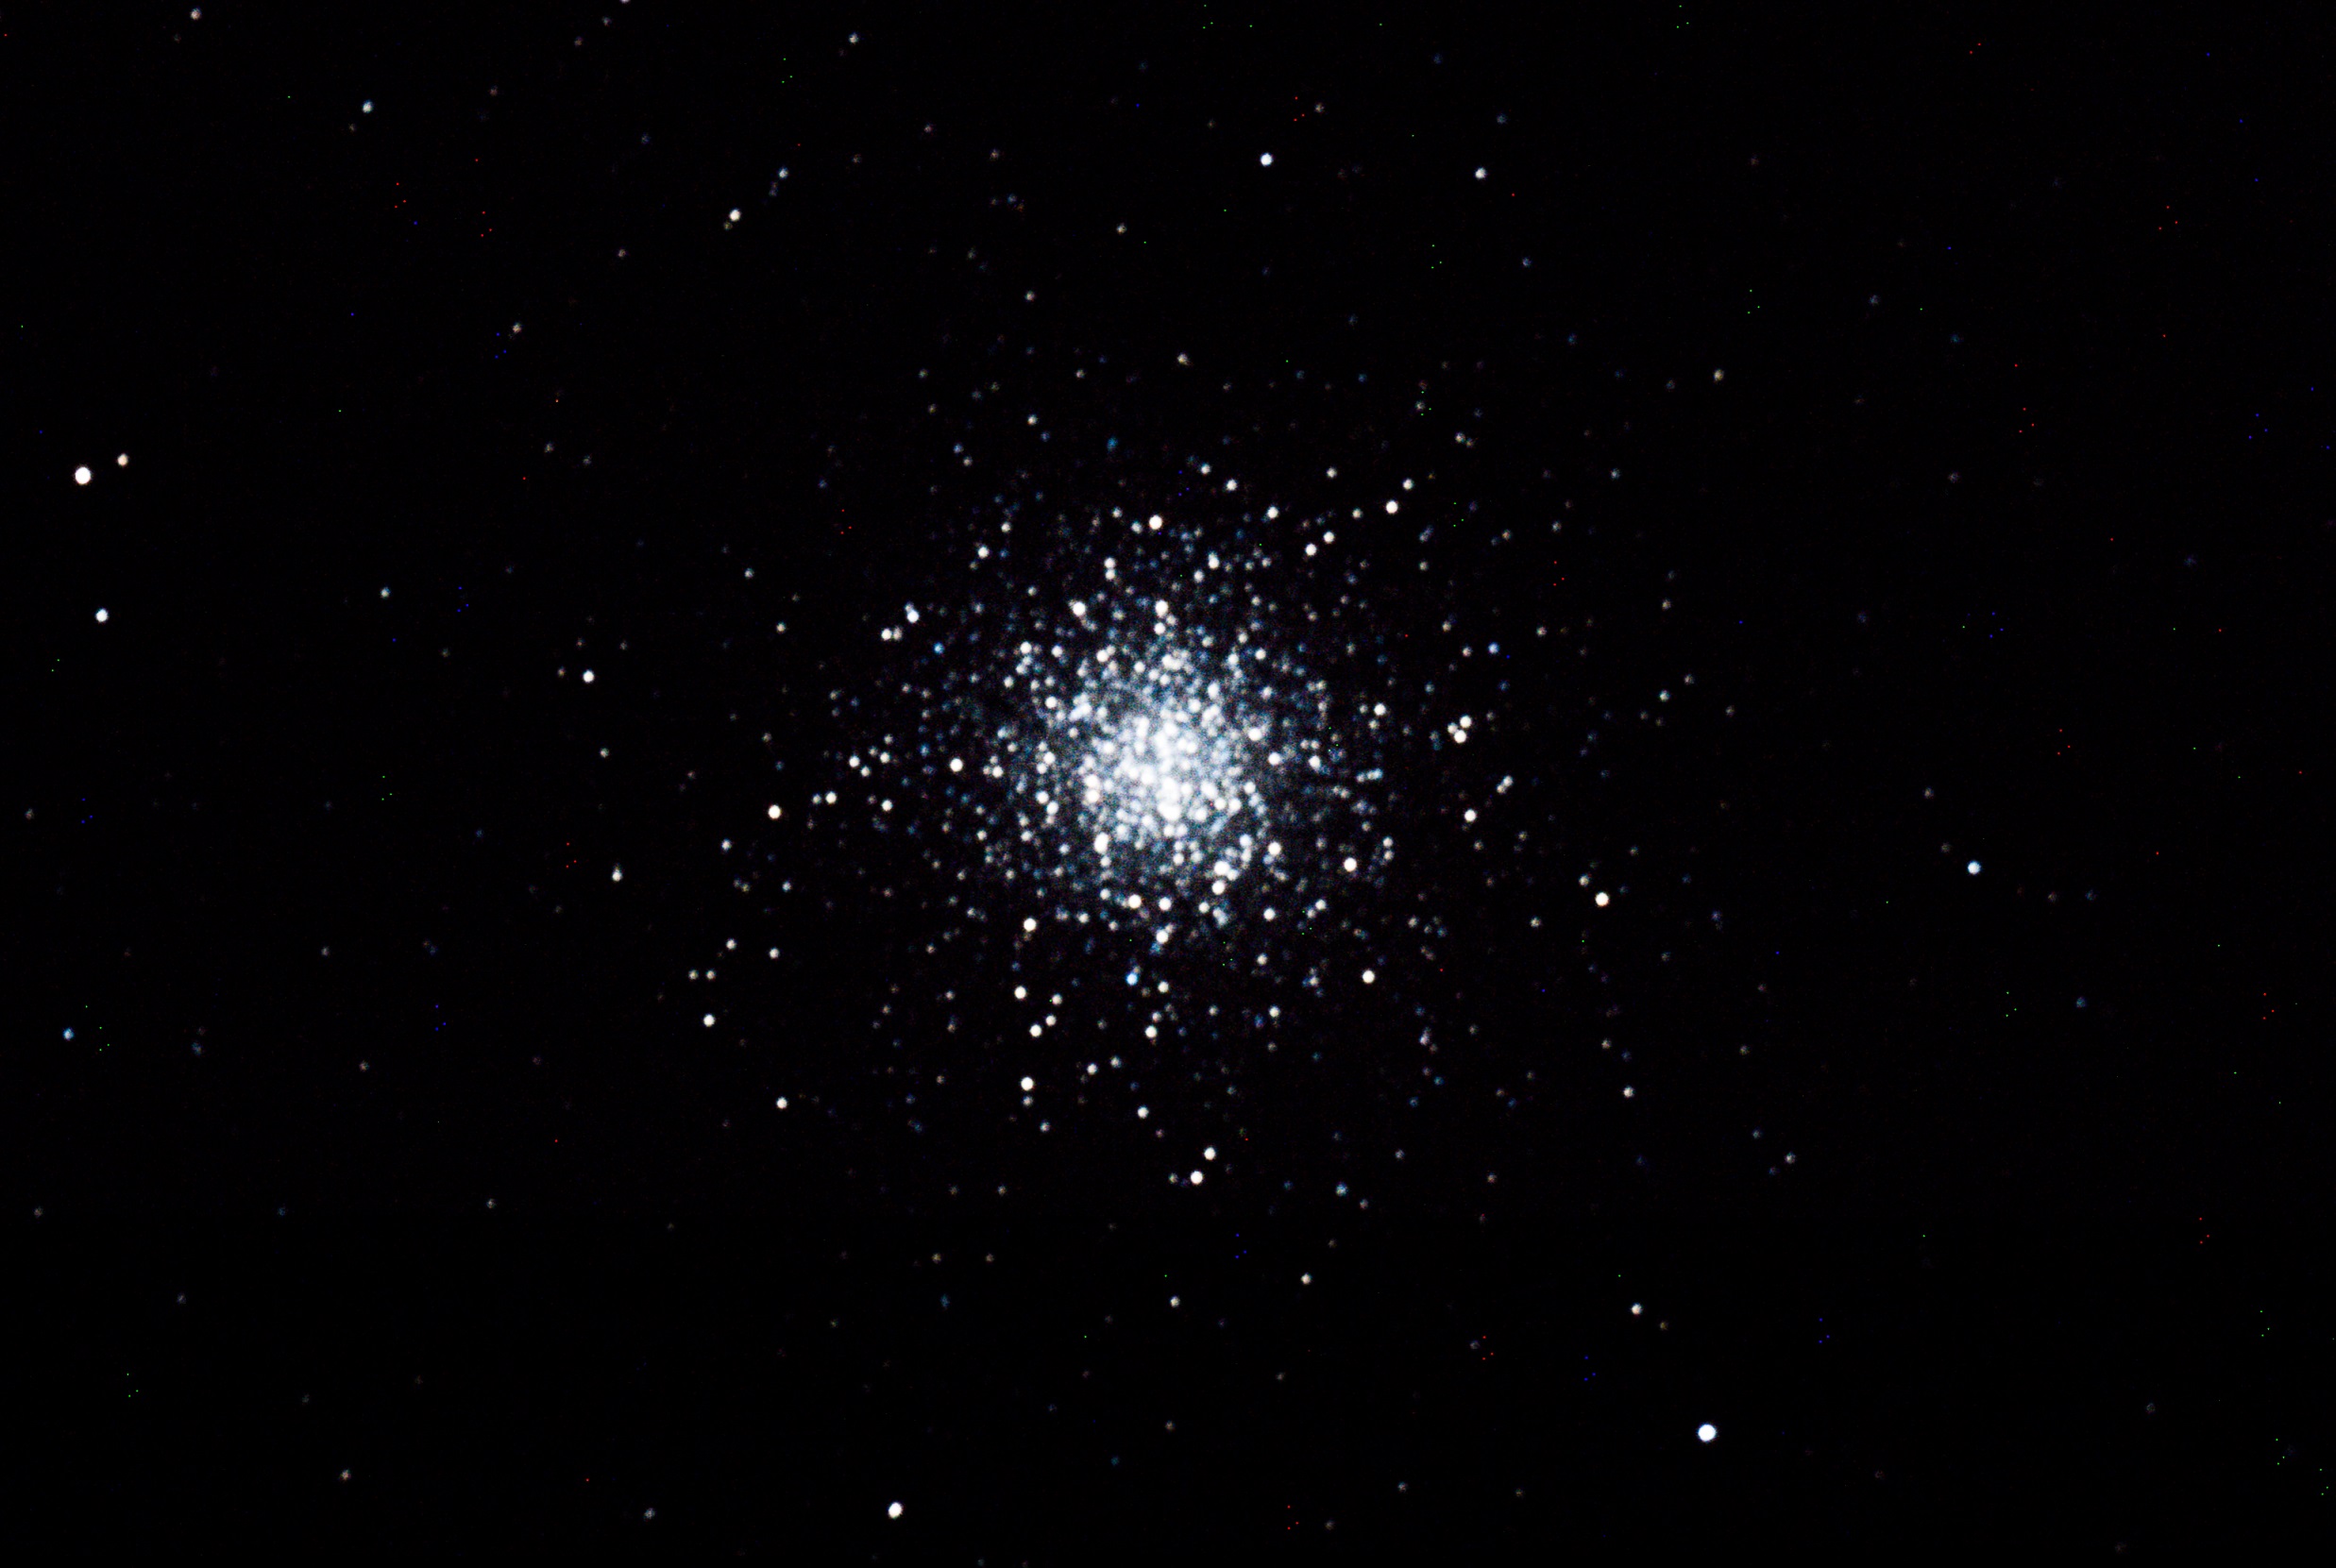
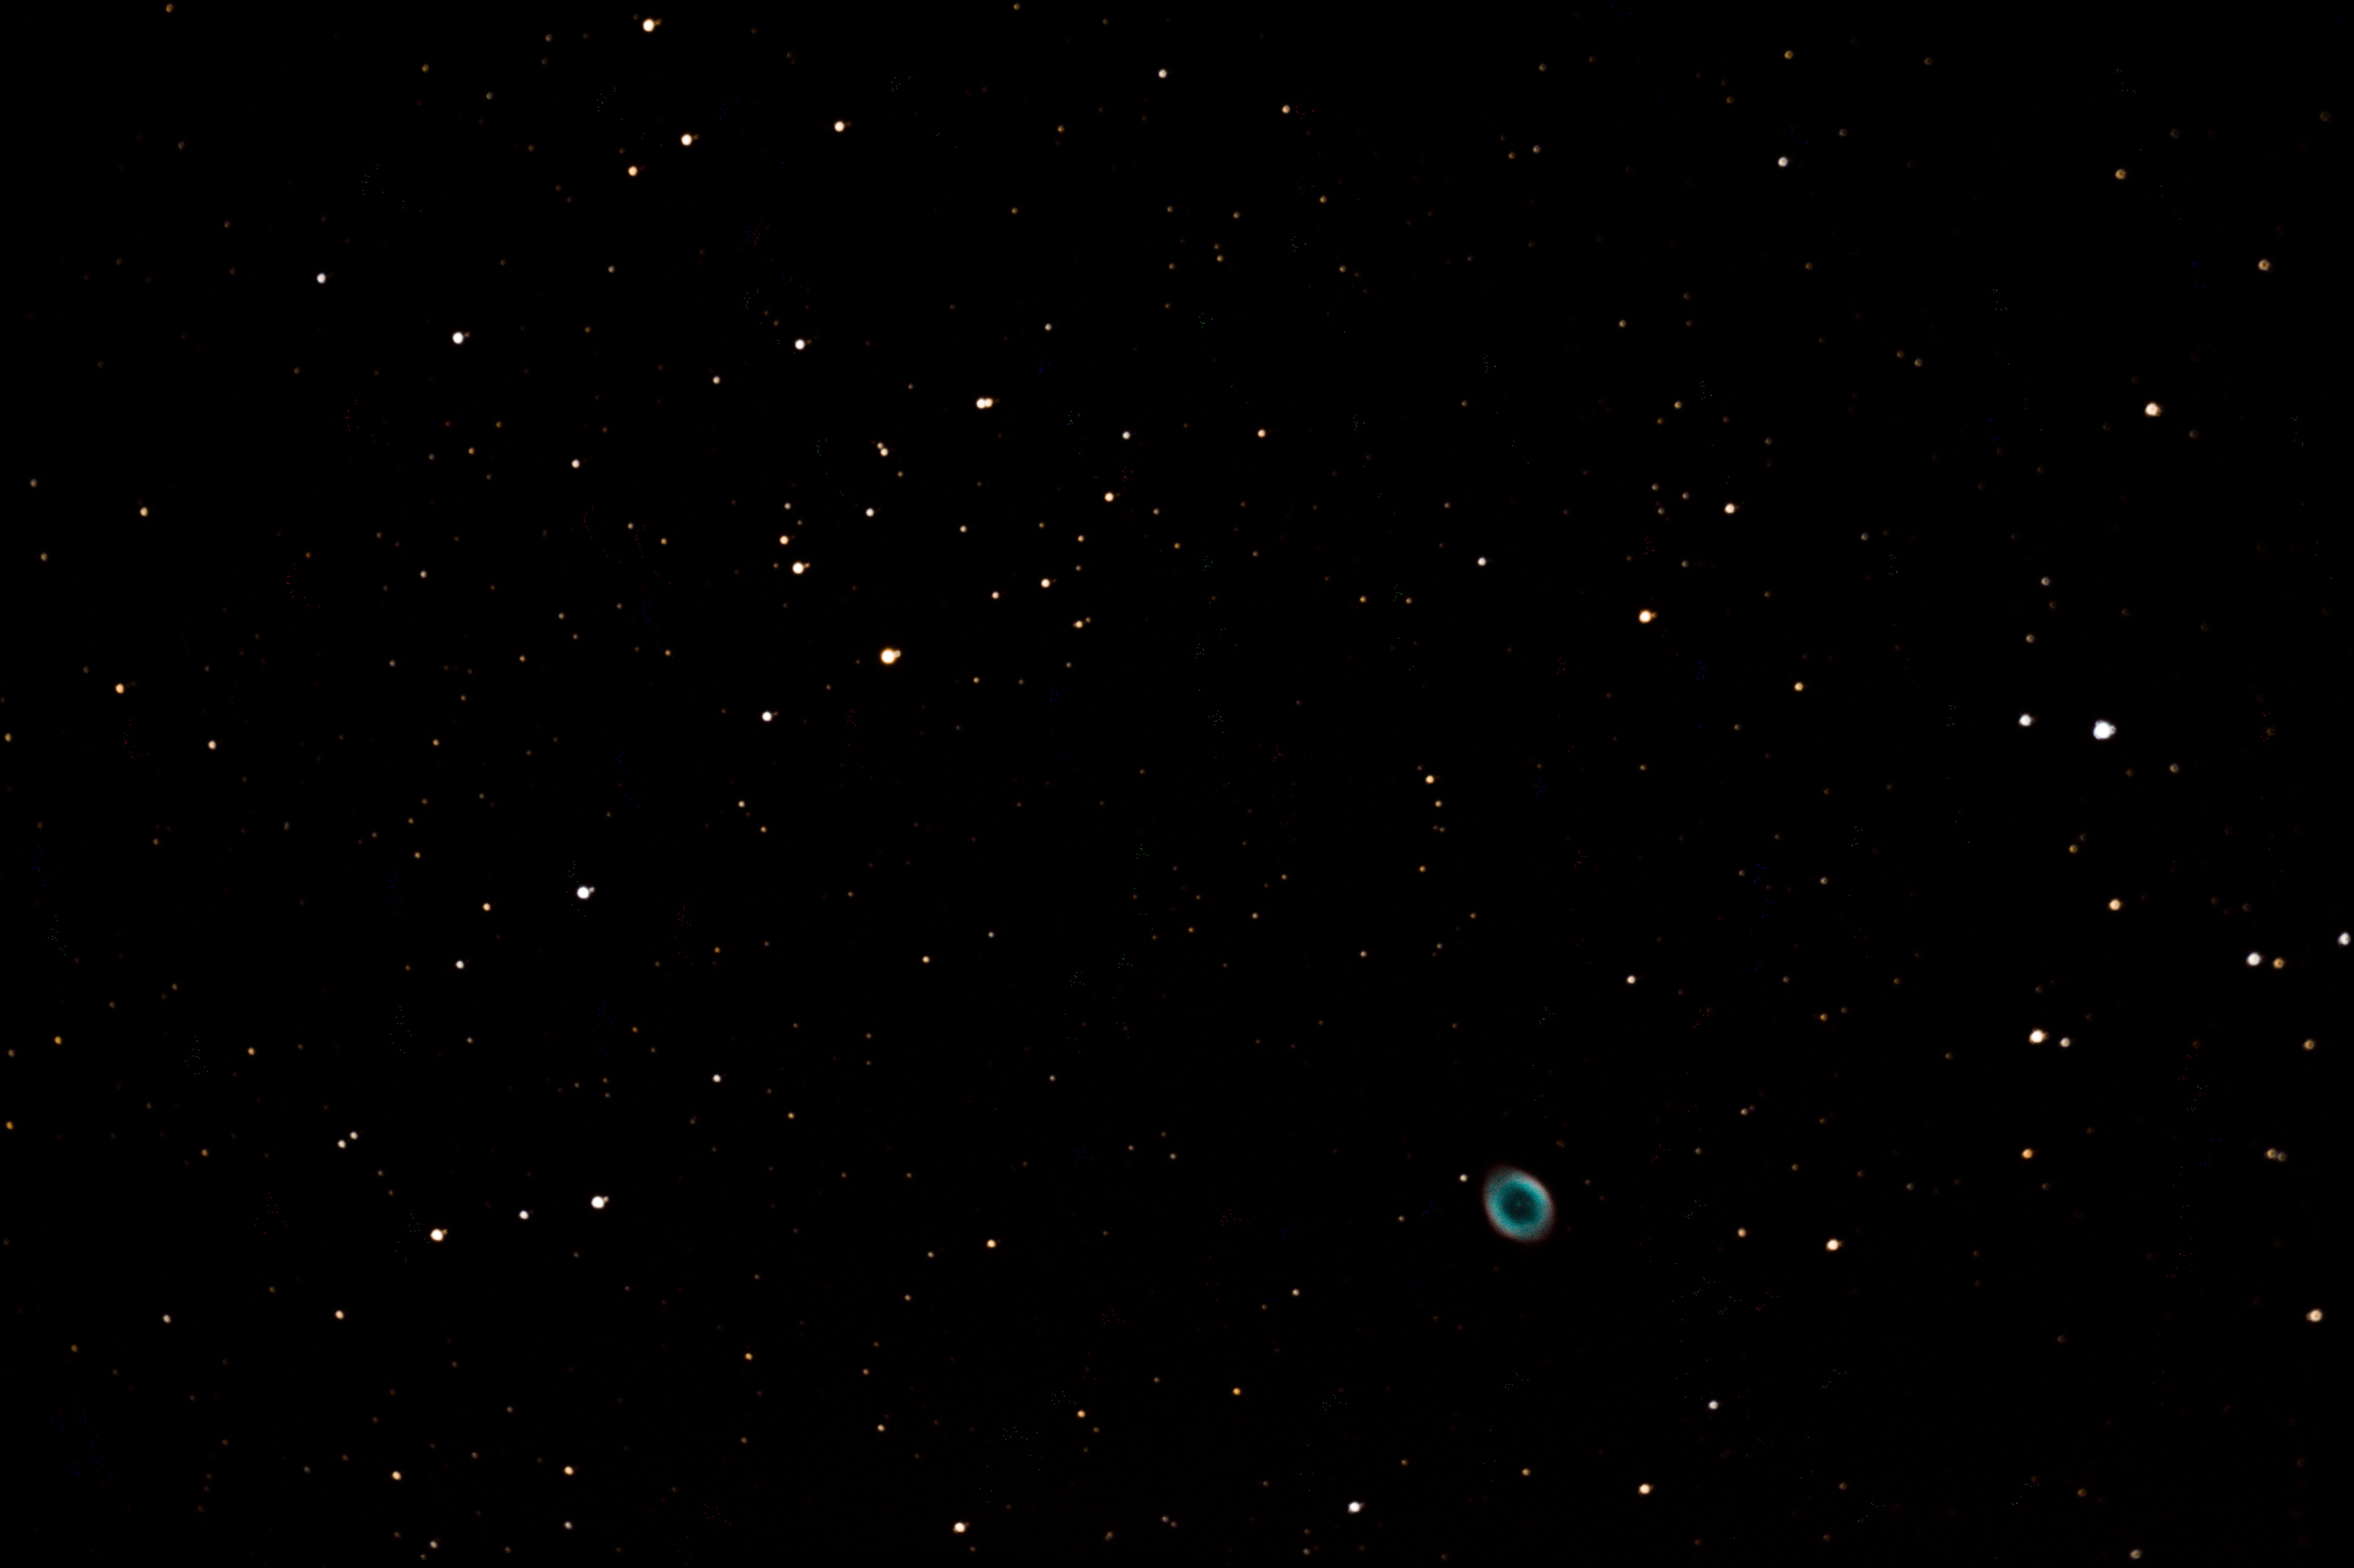
Most of the editing was done with simple techniques in Adobe Lightroom, but I am hoping to do some more advanced techniques in Photoshop to see if I can get more out of it, which should be possible.
The next items to pick up for the telescope that should add much better functionality are a digital focus adjustment and a guider camera to improve the accuracy of tracking stars.