In the midst of cooked turkey and a plethora of sides, I have been reaping the benefits of clear skies and doing my best to learn the skills of astrophotography. I spent a good 6 hours from sunset to just past midnight this past Sunday to see what kinds of shots I could get, and document the latest photos and tricks I’ve learned.
I’ll start with my latest time lapse video, since that is what I took first. I started as the sun was about to set, and kept the exposure time very low, along with the ISO. I also kept the aperture at minimum, though I could have set it higher at least for the early shots. Here is the result:
You’ll notice the problem I’ve been having with the past few time lapses I’ve done, and that is changing exposure times. Because the range of brightnesses during the shoot is so large, I have to adjust the exposure time and even the ISO at certain points. I feel its much tougher getting a sunset or sunrise because of this huge change in ambient light.
My thought for next time is to either do a time lapse of the night sky to try and get some smooth lighting, or do a gradual change in exposure times so that it’s not blatantly obvious that I’ve upping the exposure. For example, if I have to change the exposure time from 1/20th of a second to 1 second, the sky will make a jump in brightness if I take a bunch of shots at 1/20th and then jump to 1s. But if I take 5 shots at 1/20th, then 5 at 1/15th, then 5 at 1/10th, etc, will the brightness changes be less noticeable, giving the final video a smoother appearance?
Also, when the stars do come out, the ISO needs to be higher to avoid star trailing. If I start with a higher ISO and a lower exposure time at the beginning, I wonder if this will allow me to keep the same ISO for the entire shoot, ie 400.
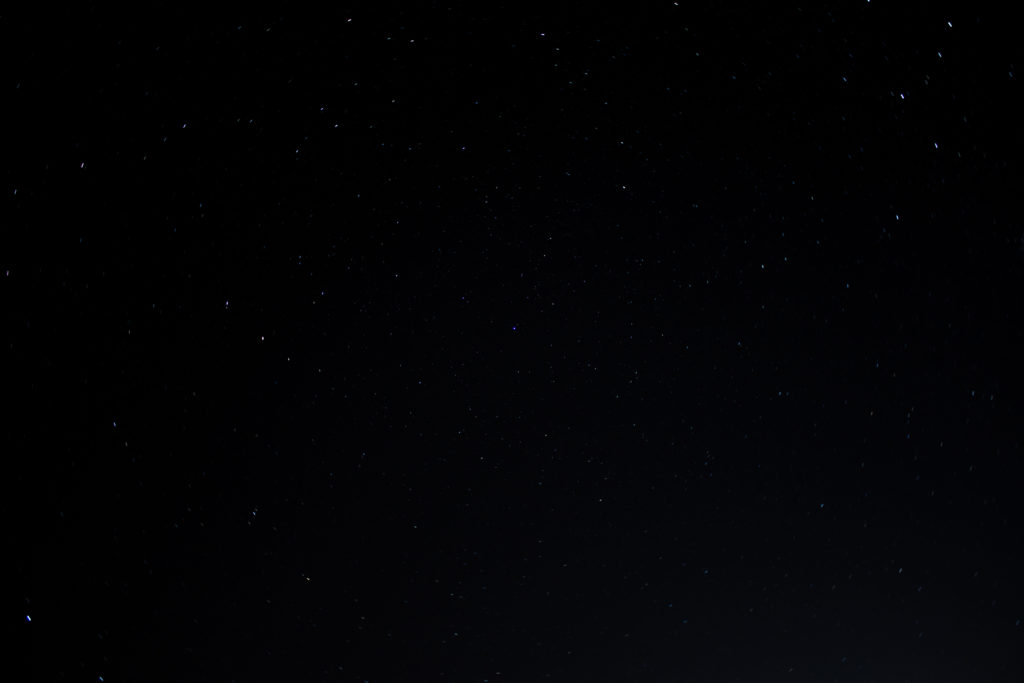
The next shot was a long star trail shot centred on the north star Polaris. I had to leave a lot of exposure time to get the stars to move, since the motion is much smaller near the north star. I ended up doing ISO 100 shots lasting 2 minutes each, to ensure the stars moved while keeping the ambient light from becoming overexposed. The result for a single shot is as follows.
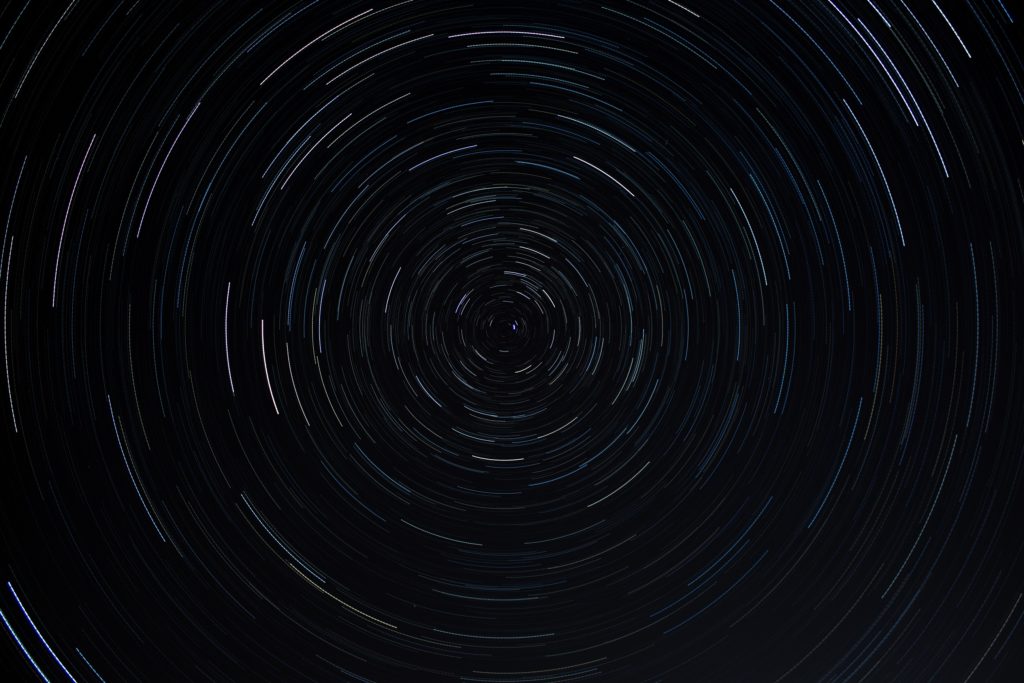
Adding the ~60 photos together to form the star trails, I ended up with a lovely little shot.
The only problem with star trails that I learned was that they look a lot better with a foreground or a landscape to frame the size and scale of them. The shot I took looks good, but it needs some landscape to take it to the next level.
Time now for the galaxy shots. I took about 100 galaxy photos and for the first time ever I took dark frames, 10 to be exact. With stacking and not stacking I came up with a few realizations, but first, the photos.
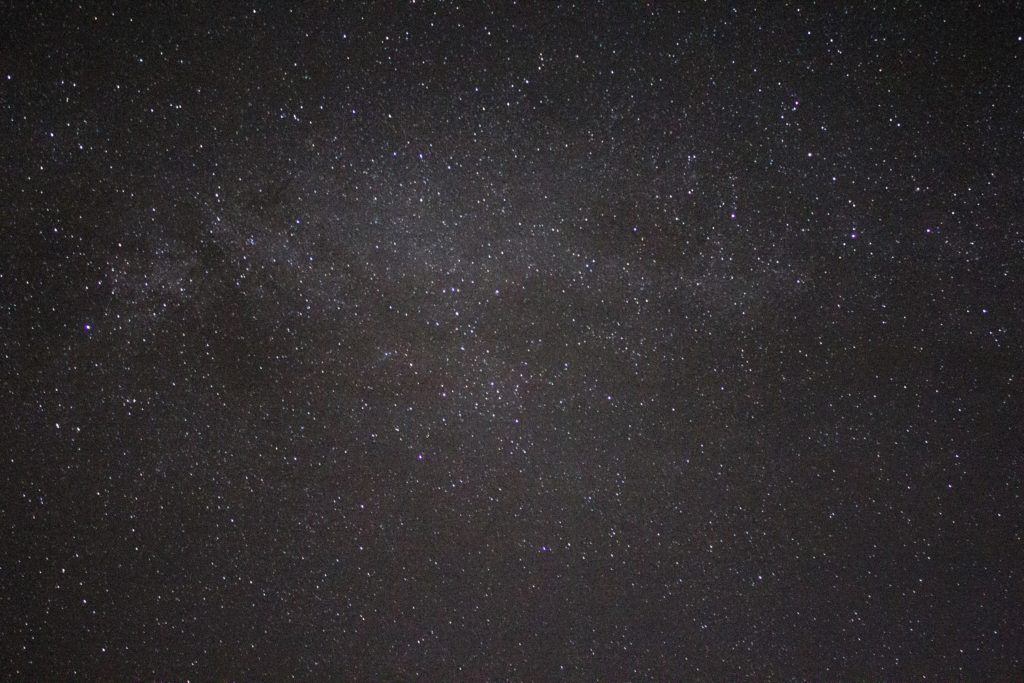
The above is a picture with no stacking. It was one of only 5-6 galaxy shots that were actually in focus. The rest moved a bit due to the wind, enough that there was a bit of trailing on the star. Each single exposure was 15 seconds at ISO 6400.
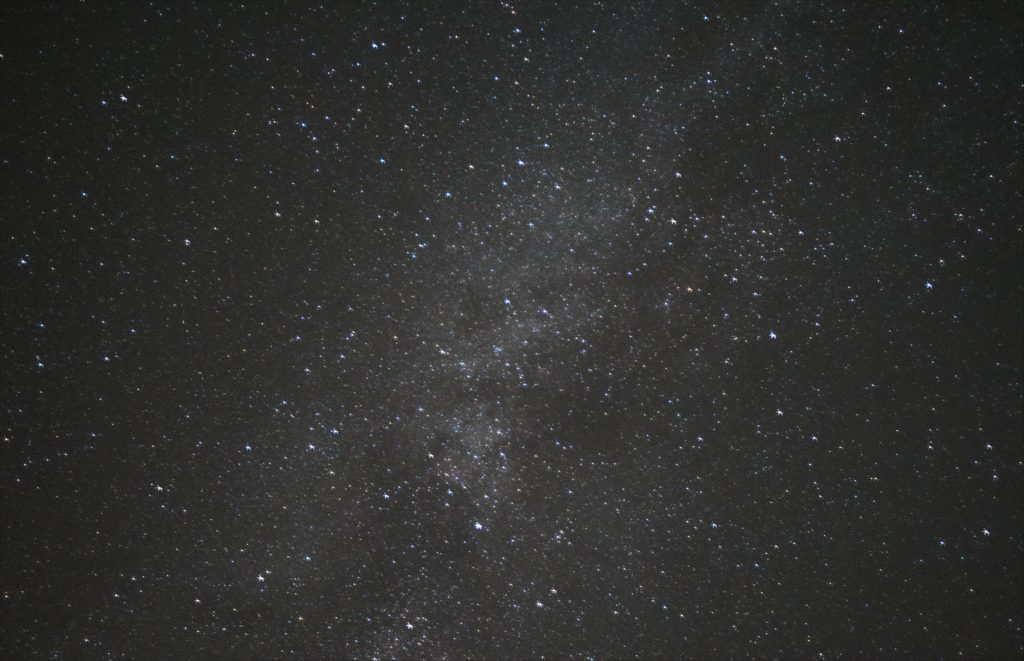
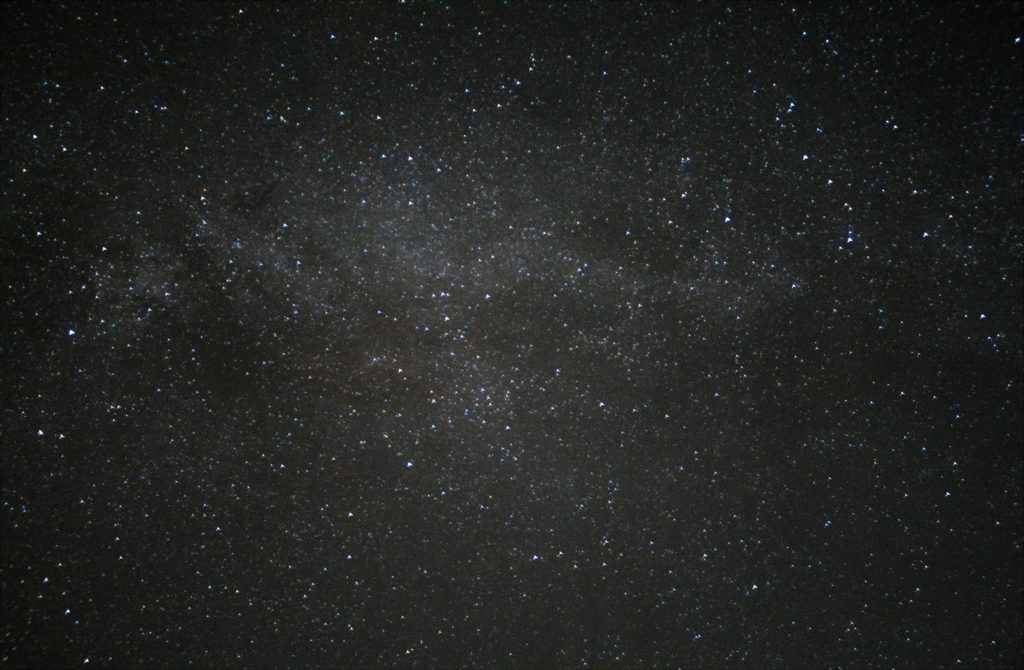
The one right above is a stack of multiple shots along the Milky Way. I also used the dark frames to clean it up. The galaxy is more prominent, but if you look closely at the stars, they have several points, the result of adding images with individual trails in different directions.
This was my favourite picture, even with the pointed look on the stars. The galaxy has a strong contrast, and looks pretty good. I think I’ll eventually need a full frame camera and a better lens in order to get some colour. Or maybe just better skies with better seeing. The more I read the more I find conditions are immensely important. I tried to follow a guide that recommended some post-processing tips to bring out more colour, and this was the result.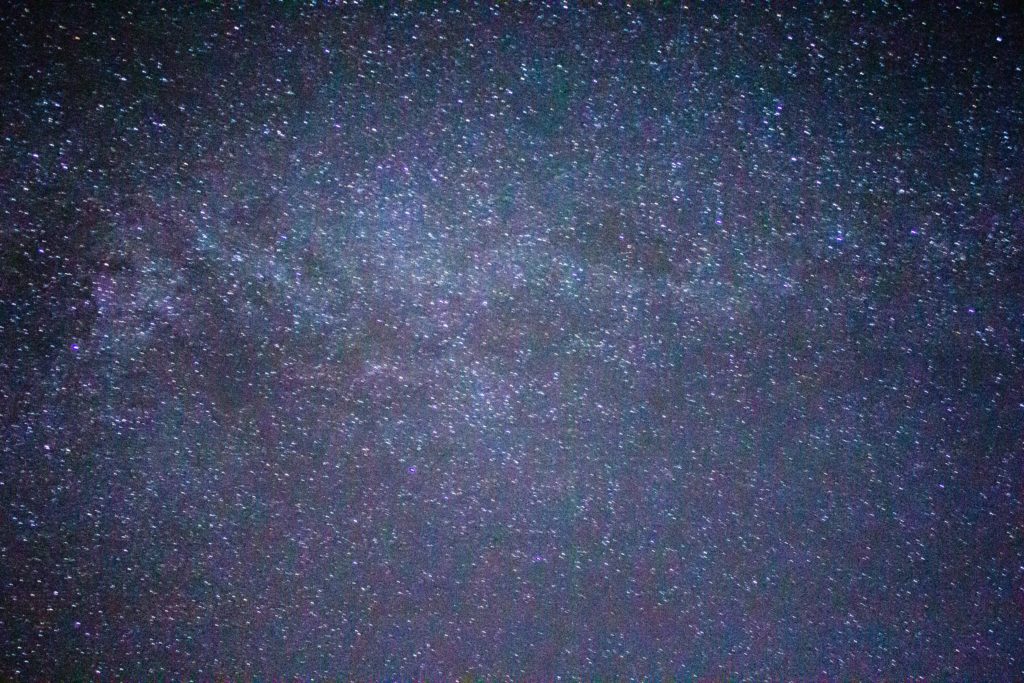
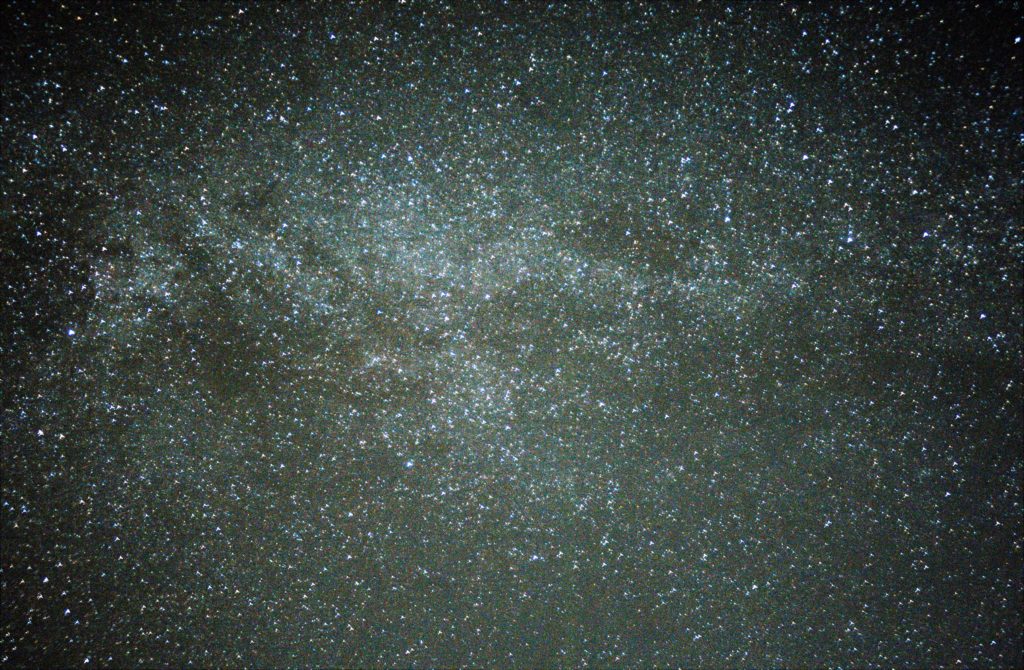
The first case is definitely oversaturated, but the second case looks half decent. There are some subtle hues coming out, and even though the stars became a lot brighter, the contrast between the lighter and darker patches of the Milky Way is stronger.
It was another good night of observing all in all. I think in the future I will try a lower ISO for the galaxy shots, and attempt to stack a large number of short exposures with good focus, rather than go for a longer exposure and risk being out of focus. I’ll also try to even out the exposure time for the time lapse shots, and include some landscape scenes in my star trails.
Happy Stargazing!

