I made a big purchase this year, one that I have wanted to make for a long time. I bought a digital single lens reflex camera (DSLR) – A Canon Rebel T3i. The only reason I did this was for astrophotography. I like photography in general – the idea of getting the perfect shot, cleaning up an image, enhancing details that were not there before. But after a trip to Europe where I felt I took too many photos, I decided that I didn’t want to experience my life through the lens of a camera, especially in an age where there are so many people with amazing cameras and very few who have gained the experience to become good photographers. If I was going to spend my time learning photography, it might as well be capturing images of space.
I ended up with two lenses, a standard 35mm Canon Lens, and an old Pentax 70 – 150mm zoom lens, a gift from Kate’s parents. I also bought a shutter remote and an adapter so I could connect the pentax lens to my camera. I was ready to go.
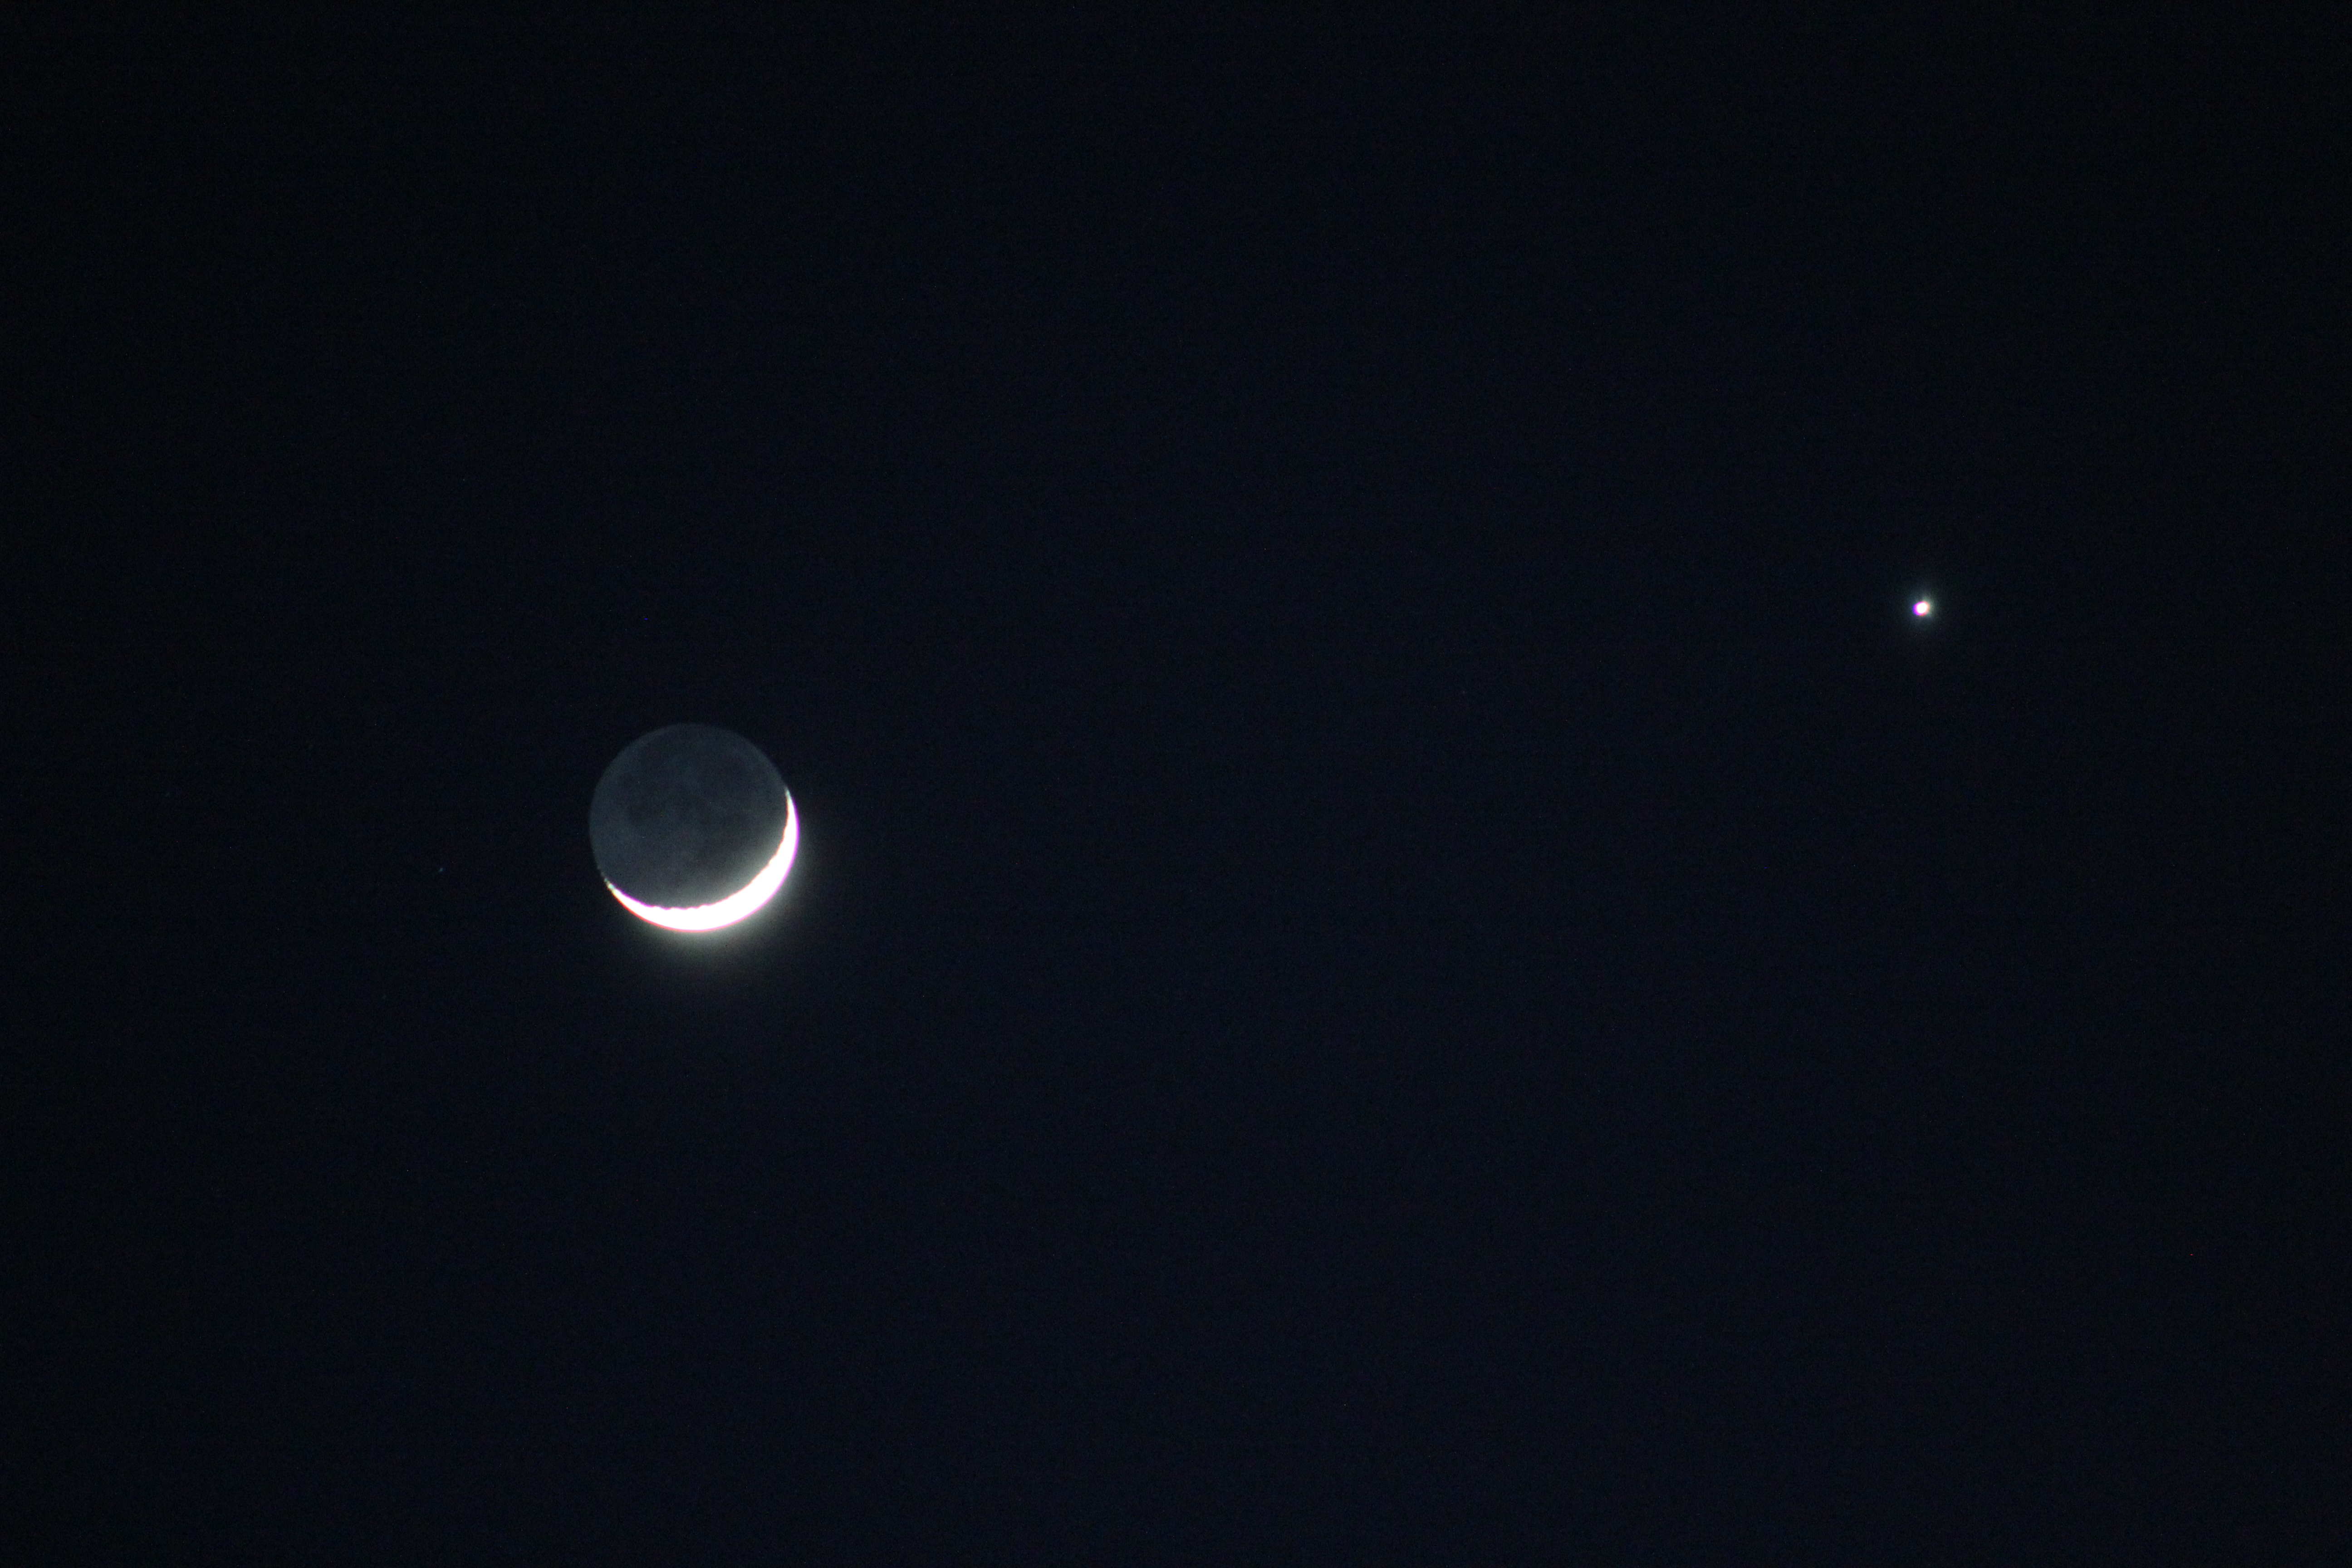
January through March in Canada is a terrible time to be an observer of the stars, since most of the time the weather is cloudy and frigid. By the end of March I managed to get out just after sunset and take some photos, while nearly freezing my hands off. I took some shots of the Moon and planets Venus and Mars, and was quite happy with how they turned out. But star photos would end up being much more difficult for me, as you’ll see. I played around with the aperture, ISO, and exposure times, and found some good spots to photograph the Moon in an overexposed shot to highlight the Earthshine.

The biggest problem I found was getting the lens focussed. I had never really done this manually, and the Pentax lens didn’t have autofocus, so I had to find a way to work with the lenses I had.
For our East Coast trip this summer, I had planned for a few nights of photography in clear skies, especially since we were going to Kejimkujik Park, a dark sky preserve in Nova Scotia. But our first stop on Cavendish Beach in PEI would give me an opportunity to get some decent shots and a bit more time with my camera. I snapped a couple quick ones right as we arrived and caught Venus and Jupiter low in the horizon. I also spent an hour getting a star trail shot constantly worrying about overexposure and hoping the shutter remote worked.


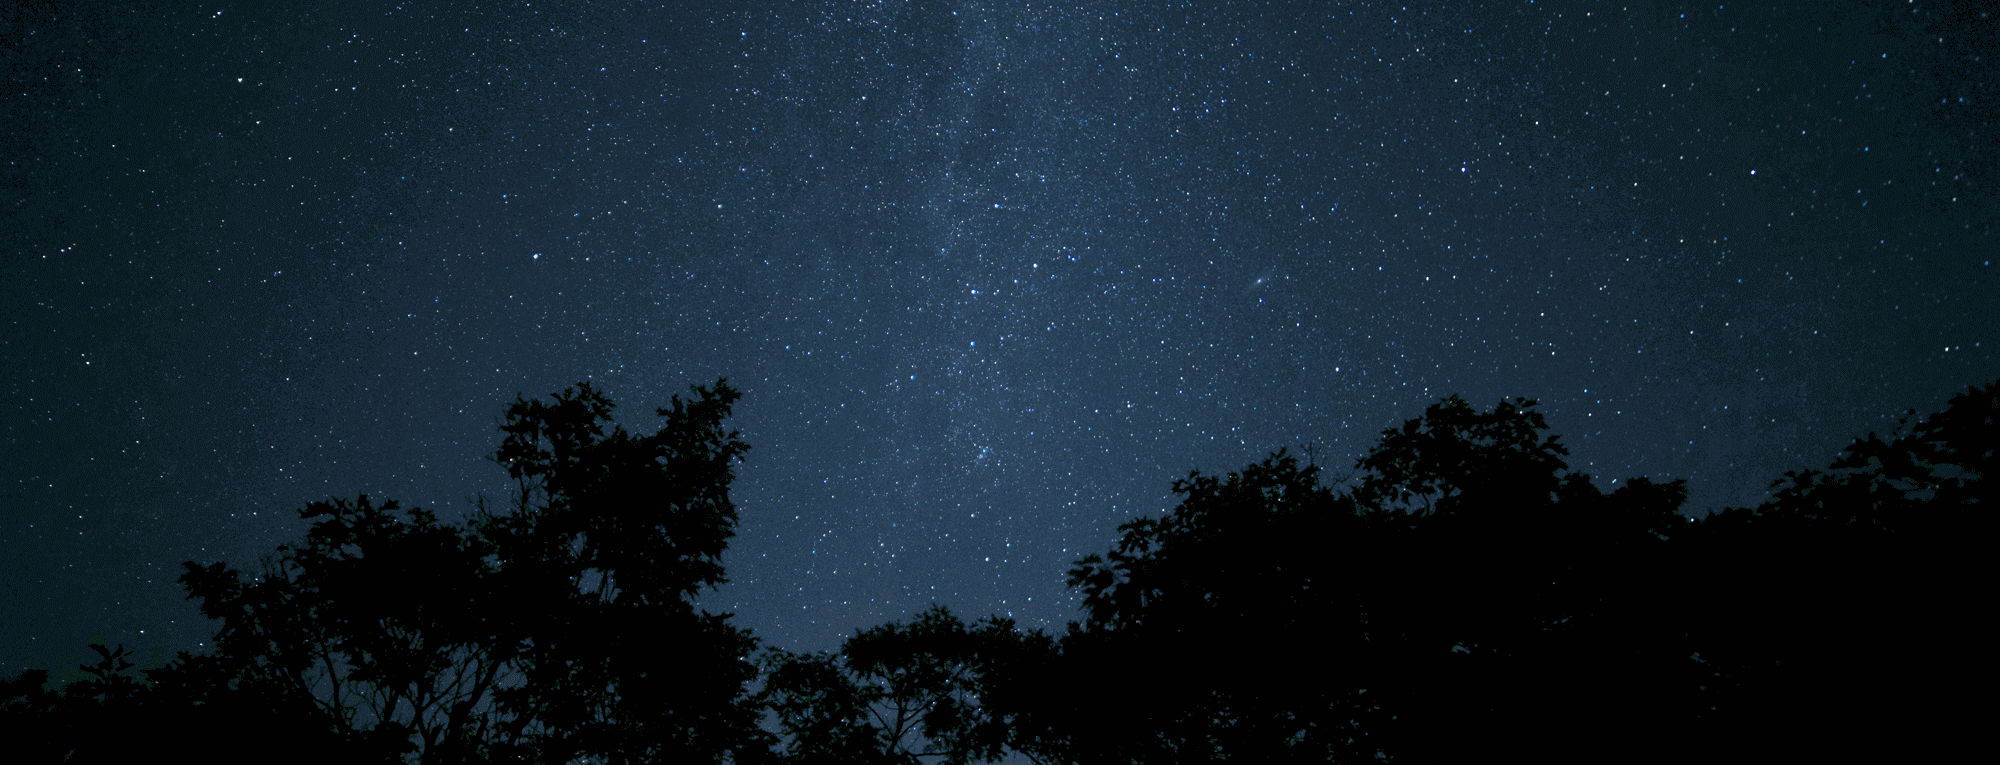
I ended up with some pretty solid shots for my first go. Once we arrived at Kejimkujik a few nights later, I was confident that I could get some decent shots. When taking star photos, one of the things that has enticed me the most is the idea of taking photos of nebulas and the Milky Way, something I have never tried before. I thought that now that I have a much better camera it should be a bit easier to get photos of gas and dust that can’t be seen by the naked eye. Of course one major problem with this is that I don’t have a tracking mount, which does limit how long of an exposure I can take. But my thought is that if I can get enough exposures, I can combine them to make up for the lack of exposure time and get the total exposure time up to what’s necessary to see the bands of the Milky Way.
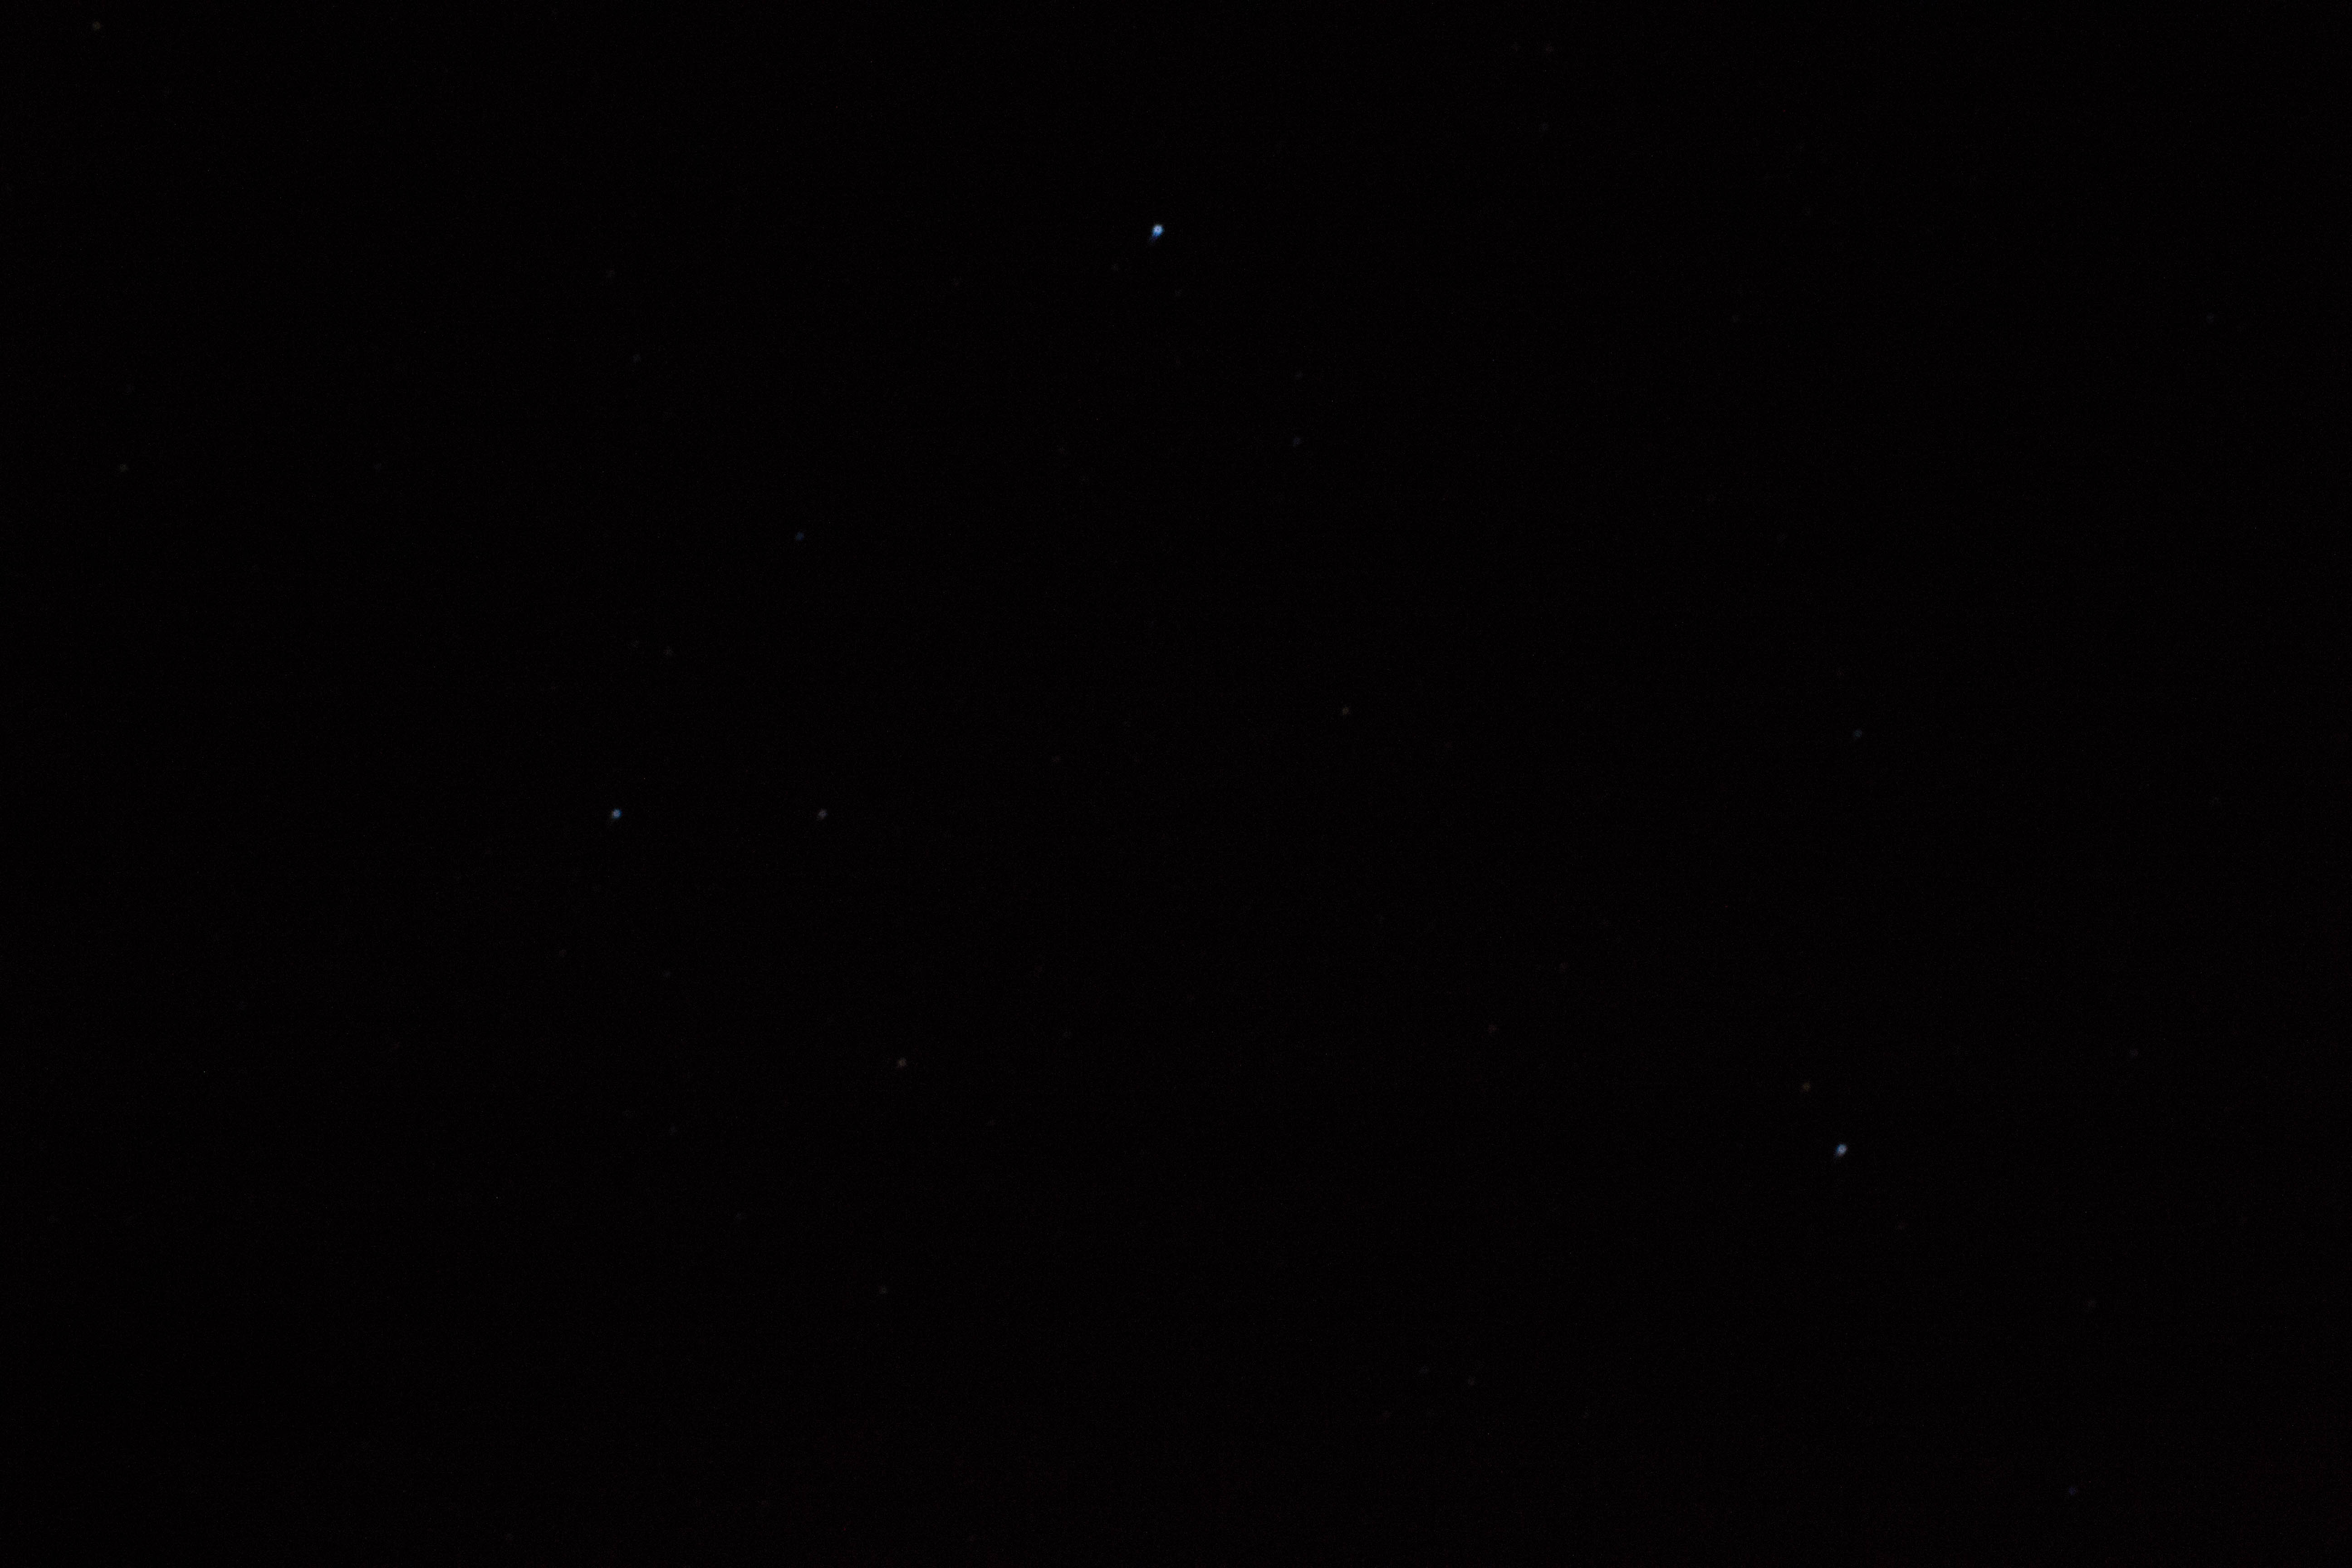
At Kejimkujik, I took several photos of major constellations, in hopes that I could stack them to produce some nice galaxy features. The problem was, I was using a low ISO, and it wasn’t enough to reveal some of the features, even with the ability to stack the images. I also didn’t have the lens properly focussed, and would still need to learn this in order to get better shots.
After this trip, I decided to learn some techniques for focussing. I learned a great little trick, using the digital zoom feature on the camera to pinpoint a bright star and adjusting the focus until I got the best view. I was happy with how this worked, and felt better about going to watch the Perseid meteors on Manitoulin Island.
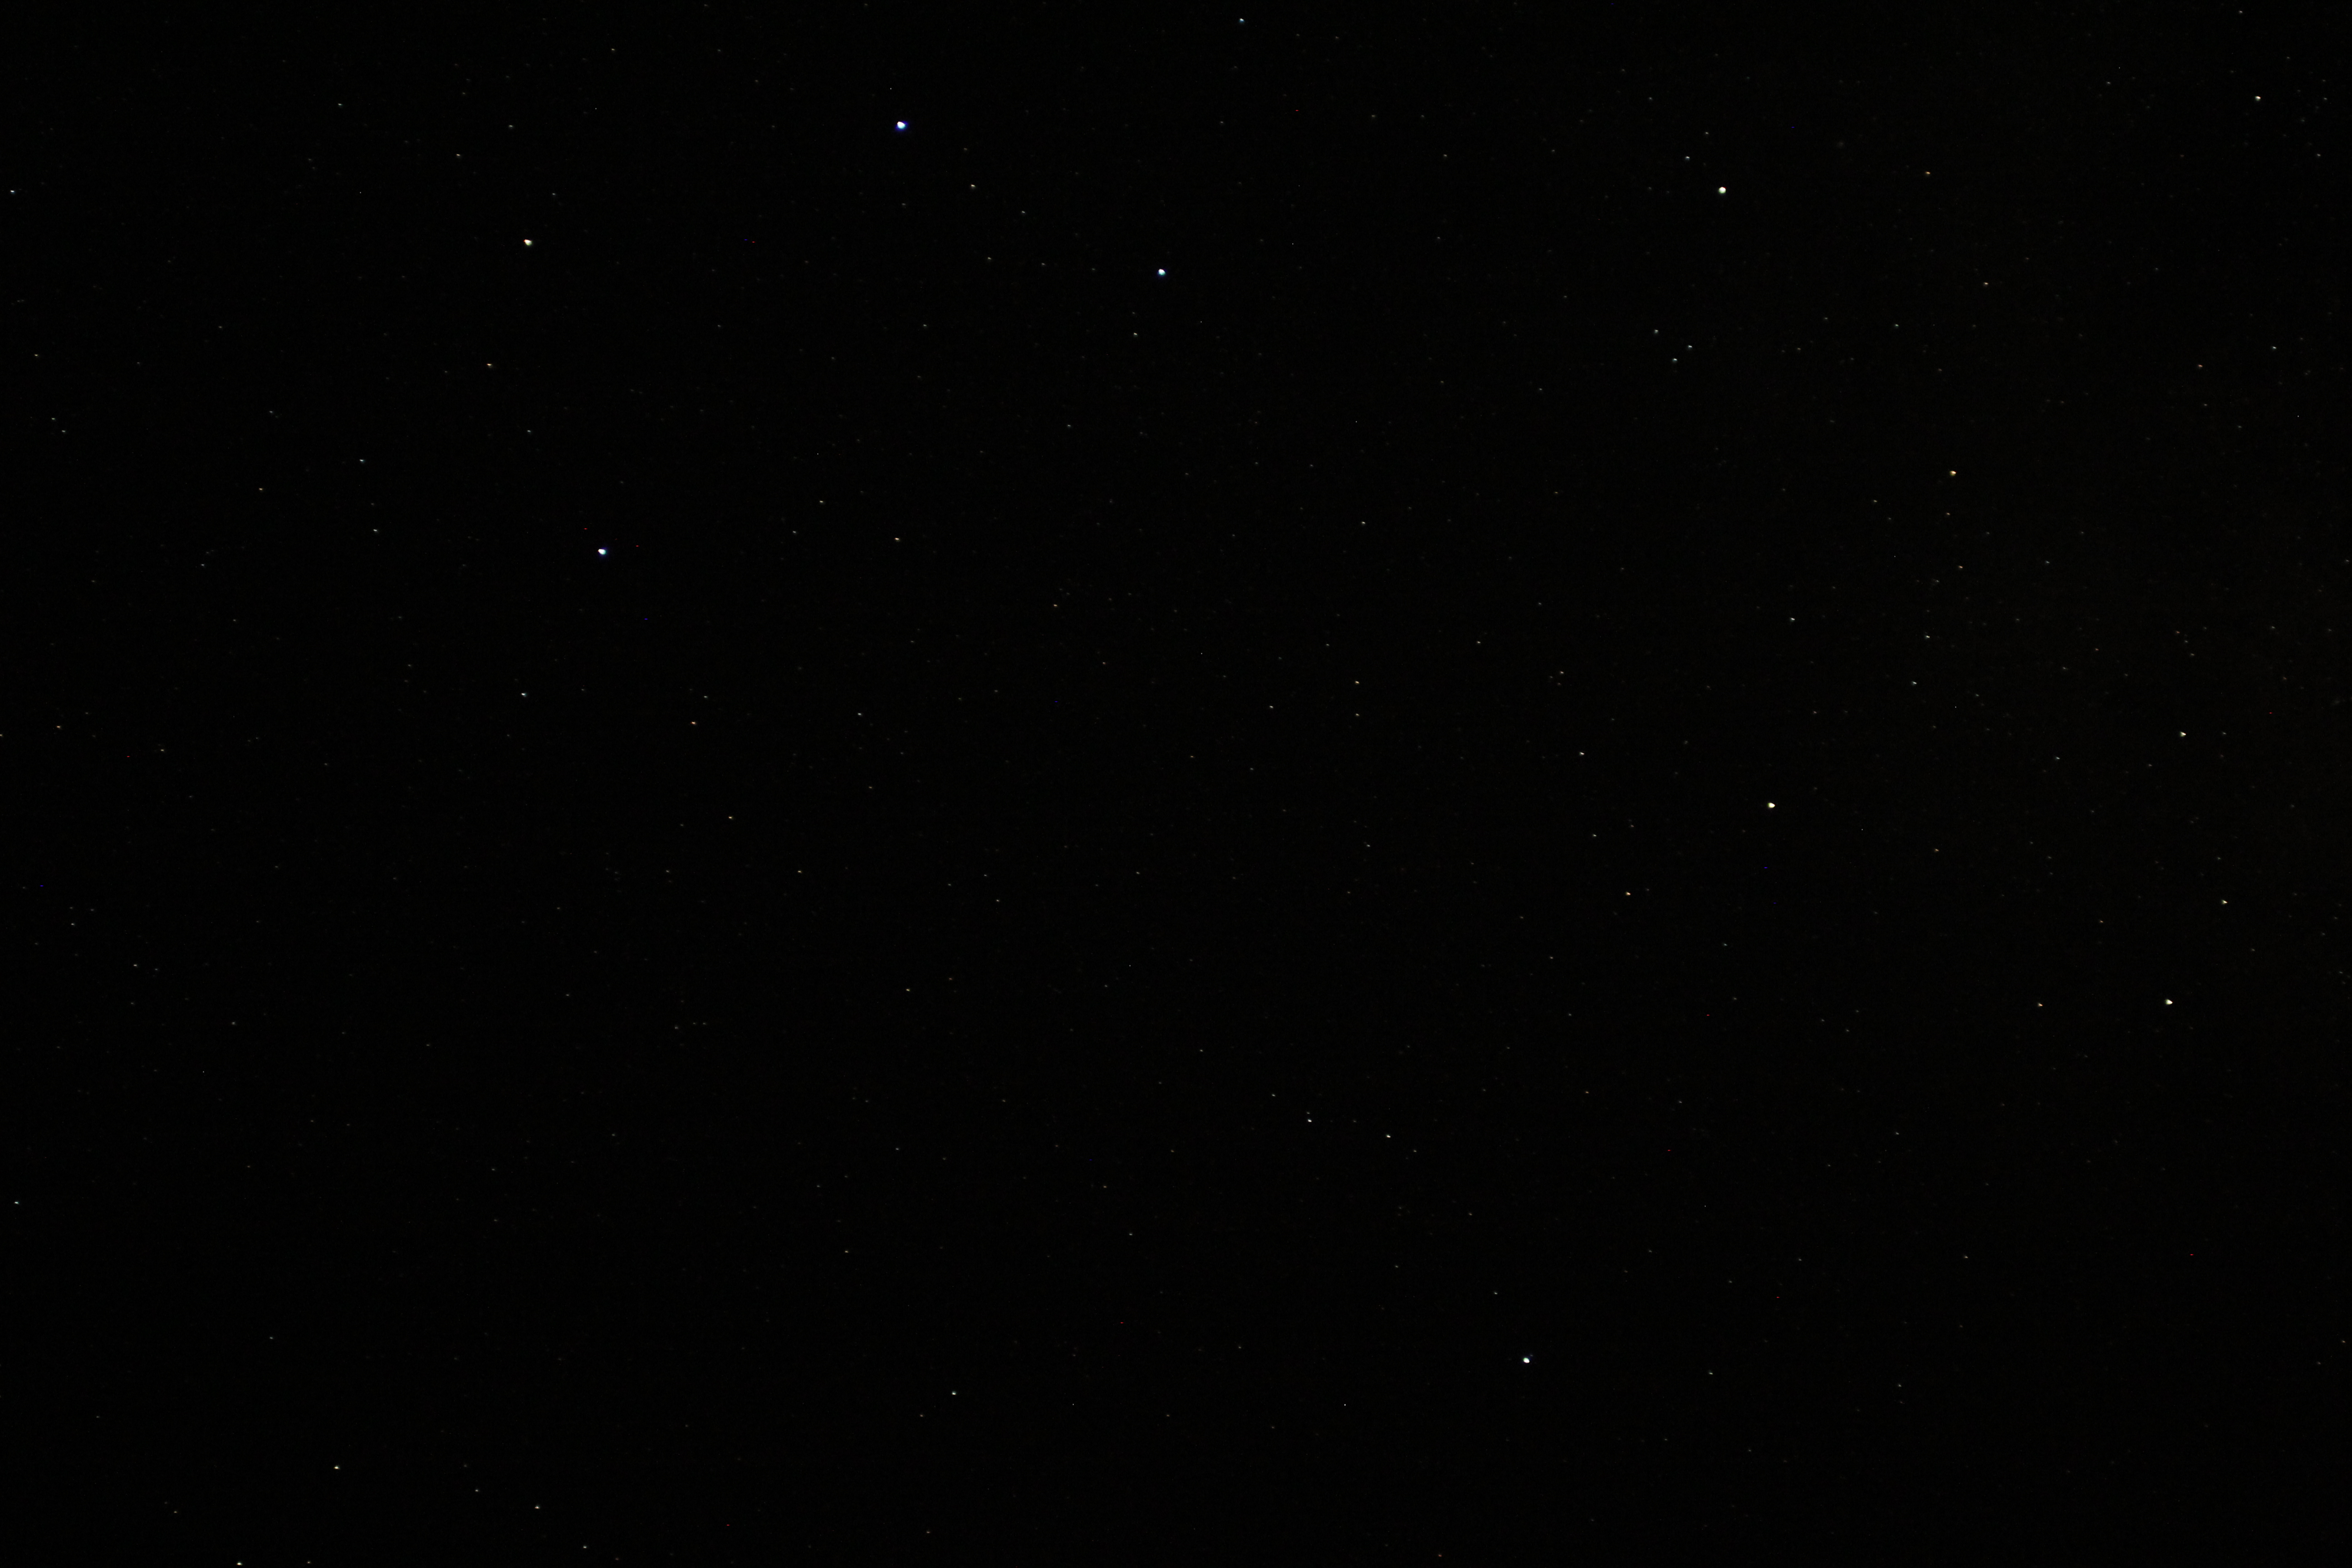
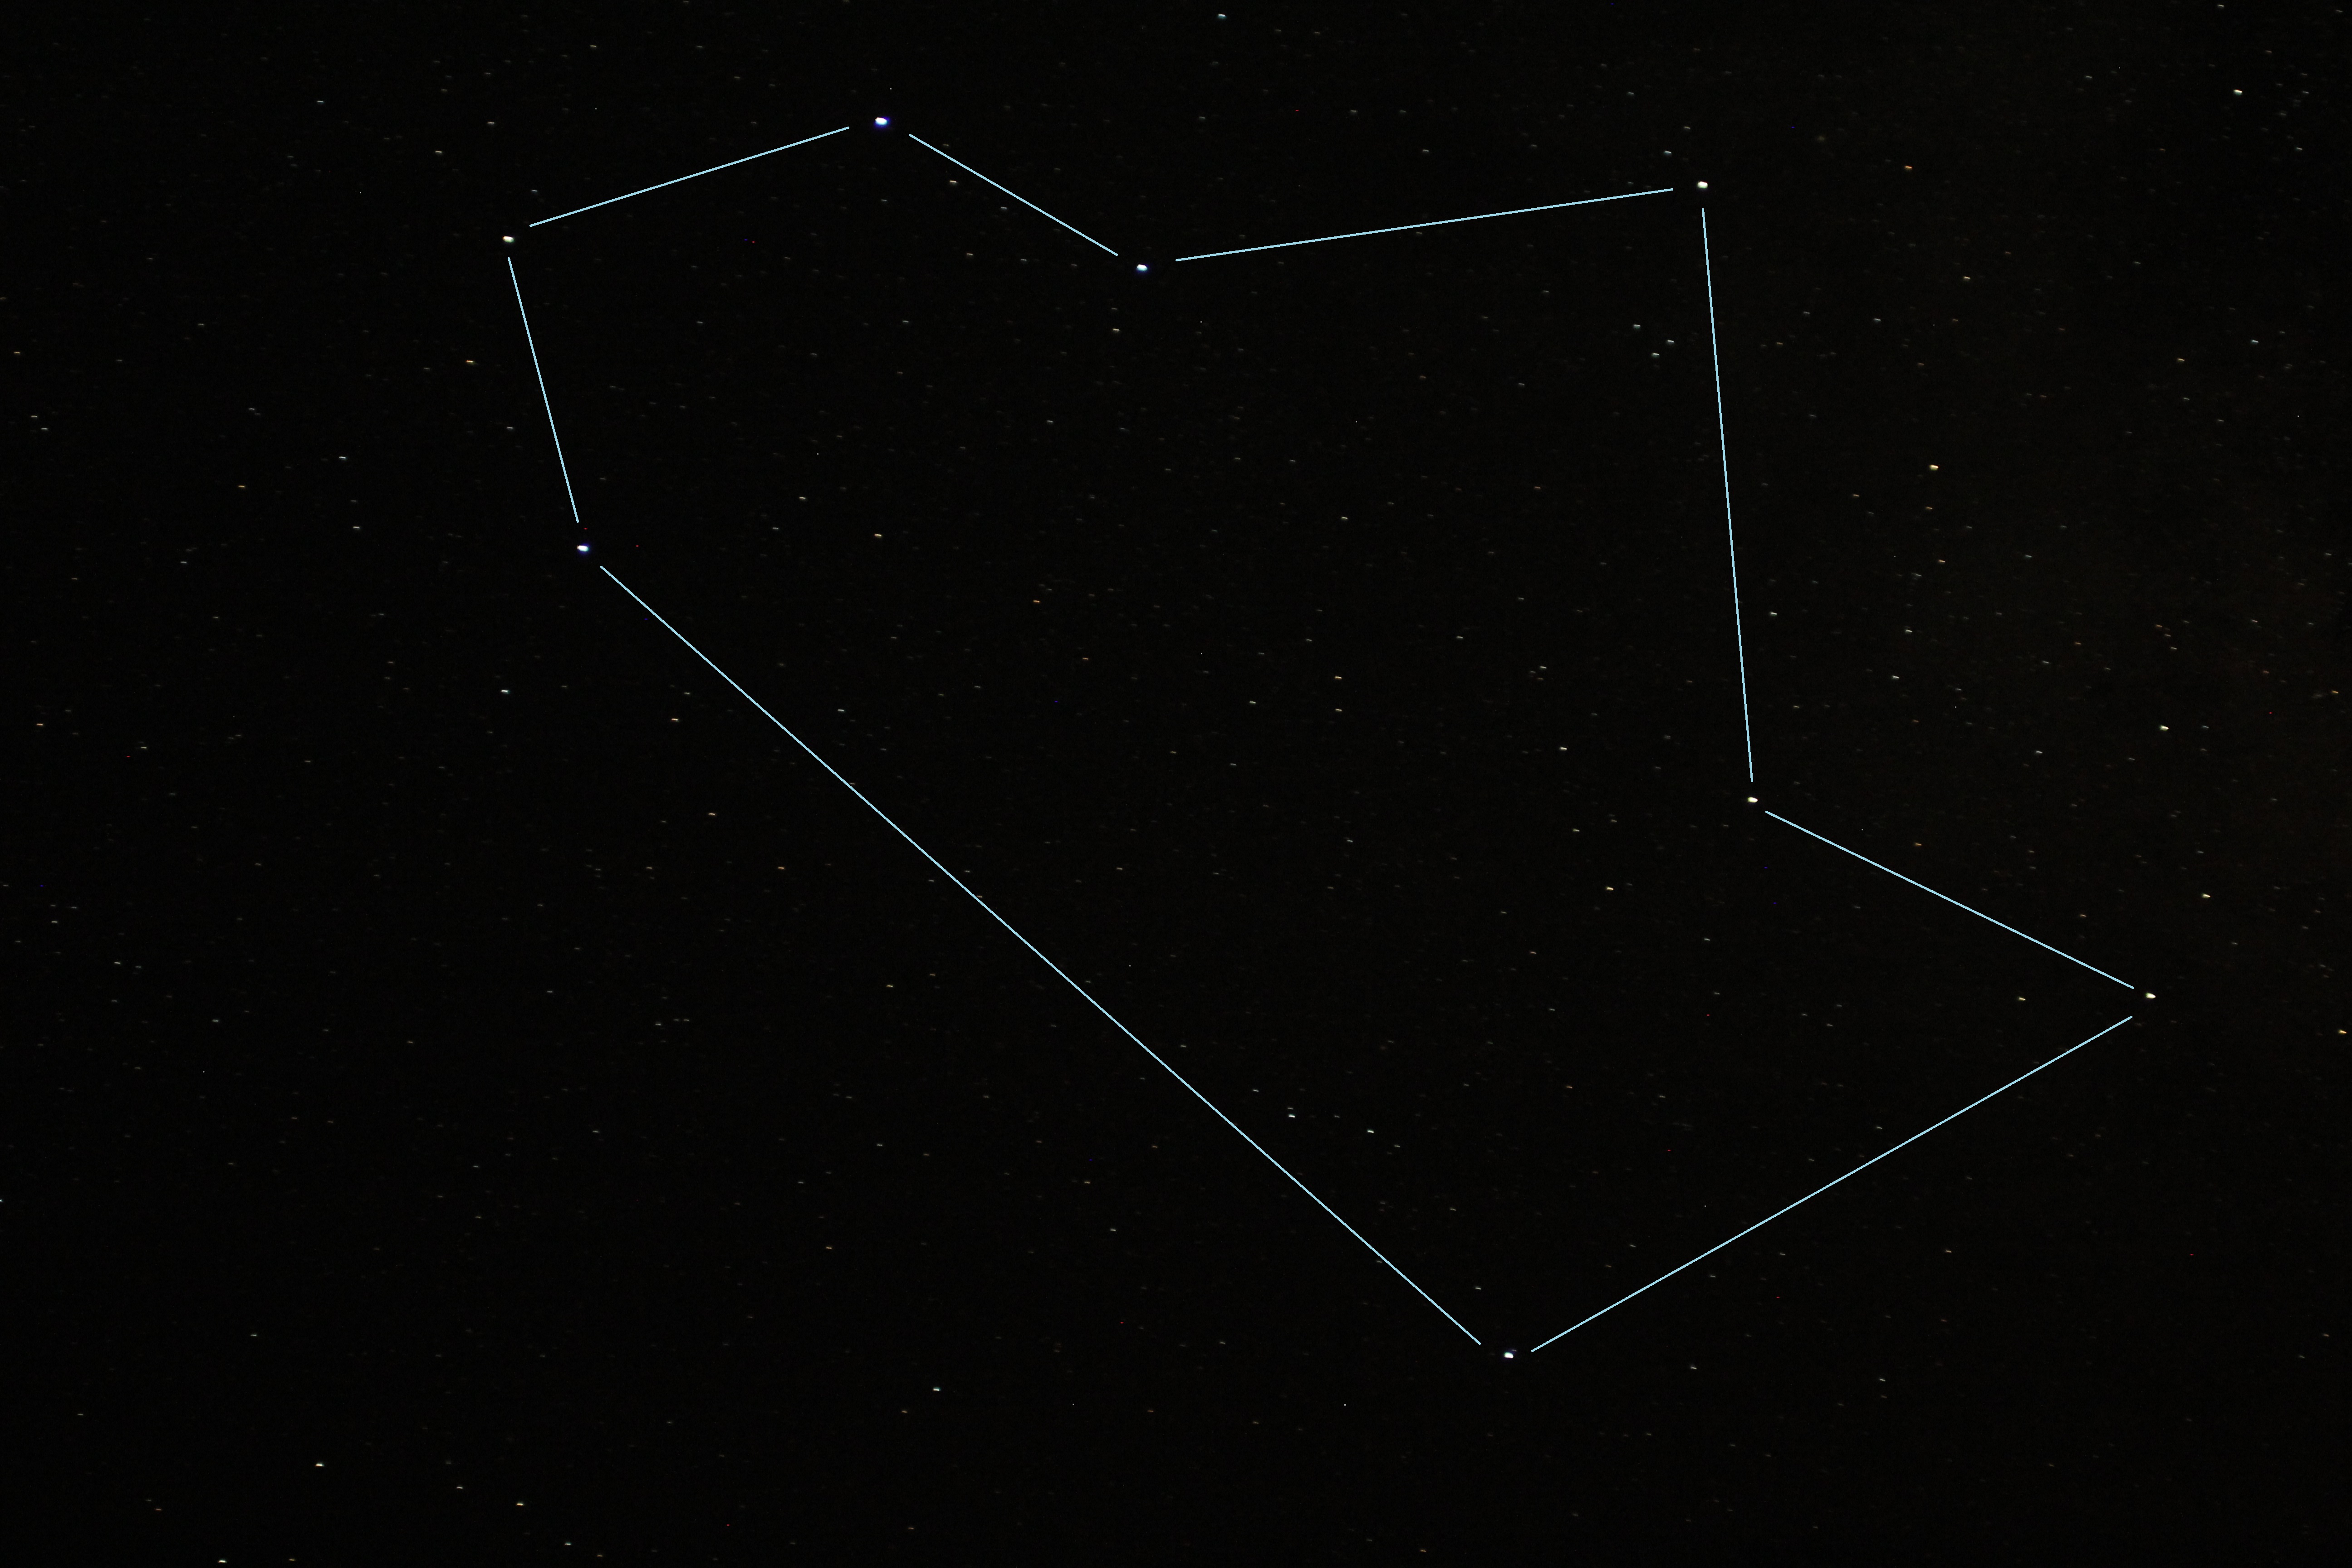
I used my focus technique, and also tried using my Pentax lens. The results were definitely better, but I realized that zooming in means limiting the exposure time, because the rotation of the Earth creates star trails more quickly when zoomed in. I managed to get a decent marriage between the exposure time and getting a good image, and ended up with some nice constellation shots, even though the stacking failed to get me part of the Galaxy.
I didn’t capture a single meteor, mainly because I was having problems working my 35mm lens and ended up not using it. I tried to photograph the same region of sky over and over, but with limited exposure time due to the zoom of the Pentax lens, capturing one was too tough. Even with all of this, I was still having fun. This had already been my best year of stargazing since I was young.
In October, we went camping to see the fall colours in Algonquin. This time I was prepared. A friend and much better astrophotographer named Rob Nelson suggested a good software addition for my camera, called Magic Lantern. It would give me a whole host of functions that would let me do long exposures and time lapse, without having to sit next to the camera and manually take a photo every ten seconds. The other great thing about Magic Lantern is that it has a focus meter, so I can see when I’ve got the best focus when zooming on a star. I also read a few astrophotography resources online and found that good galaxy shots come from high ISO and stacking.
I decided to try a time lapse and some high ISO shots. I didn’t take any dark or flat frames, though this will be my next task when I go out again this fall. Still, the results were much better!

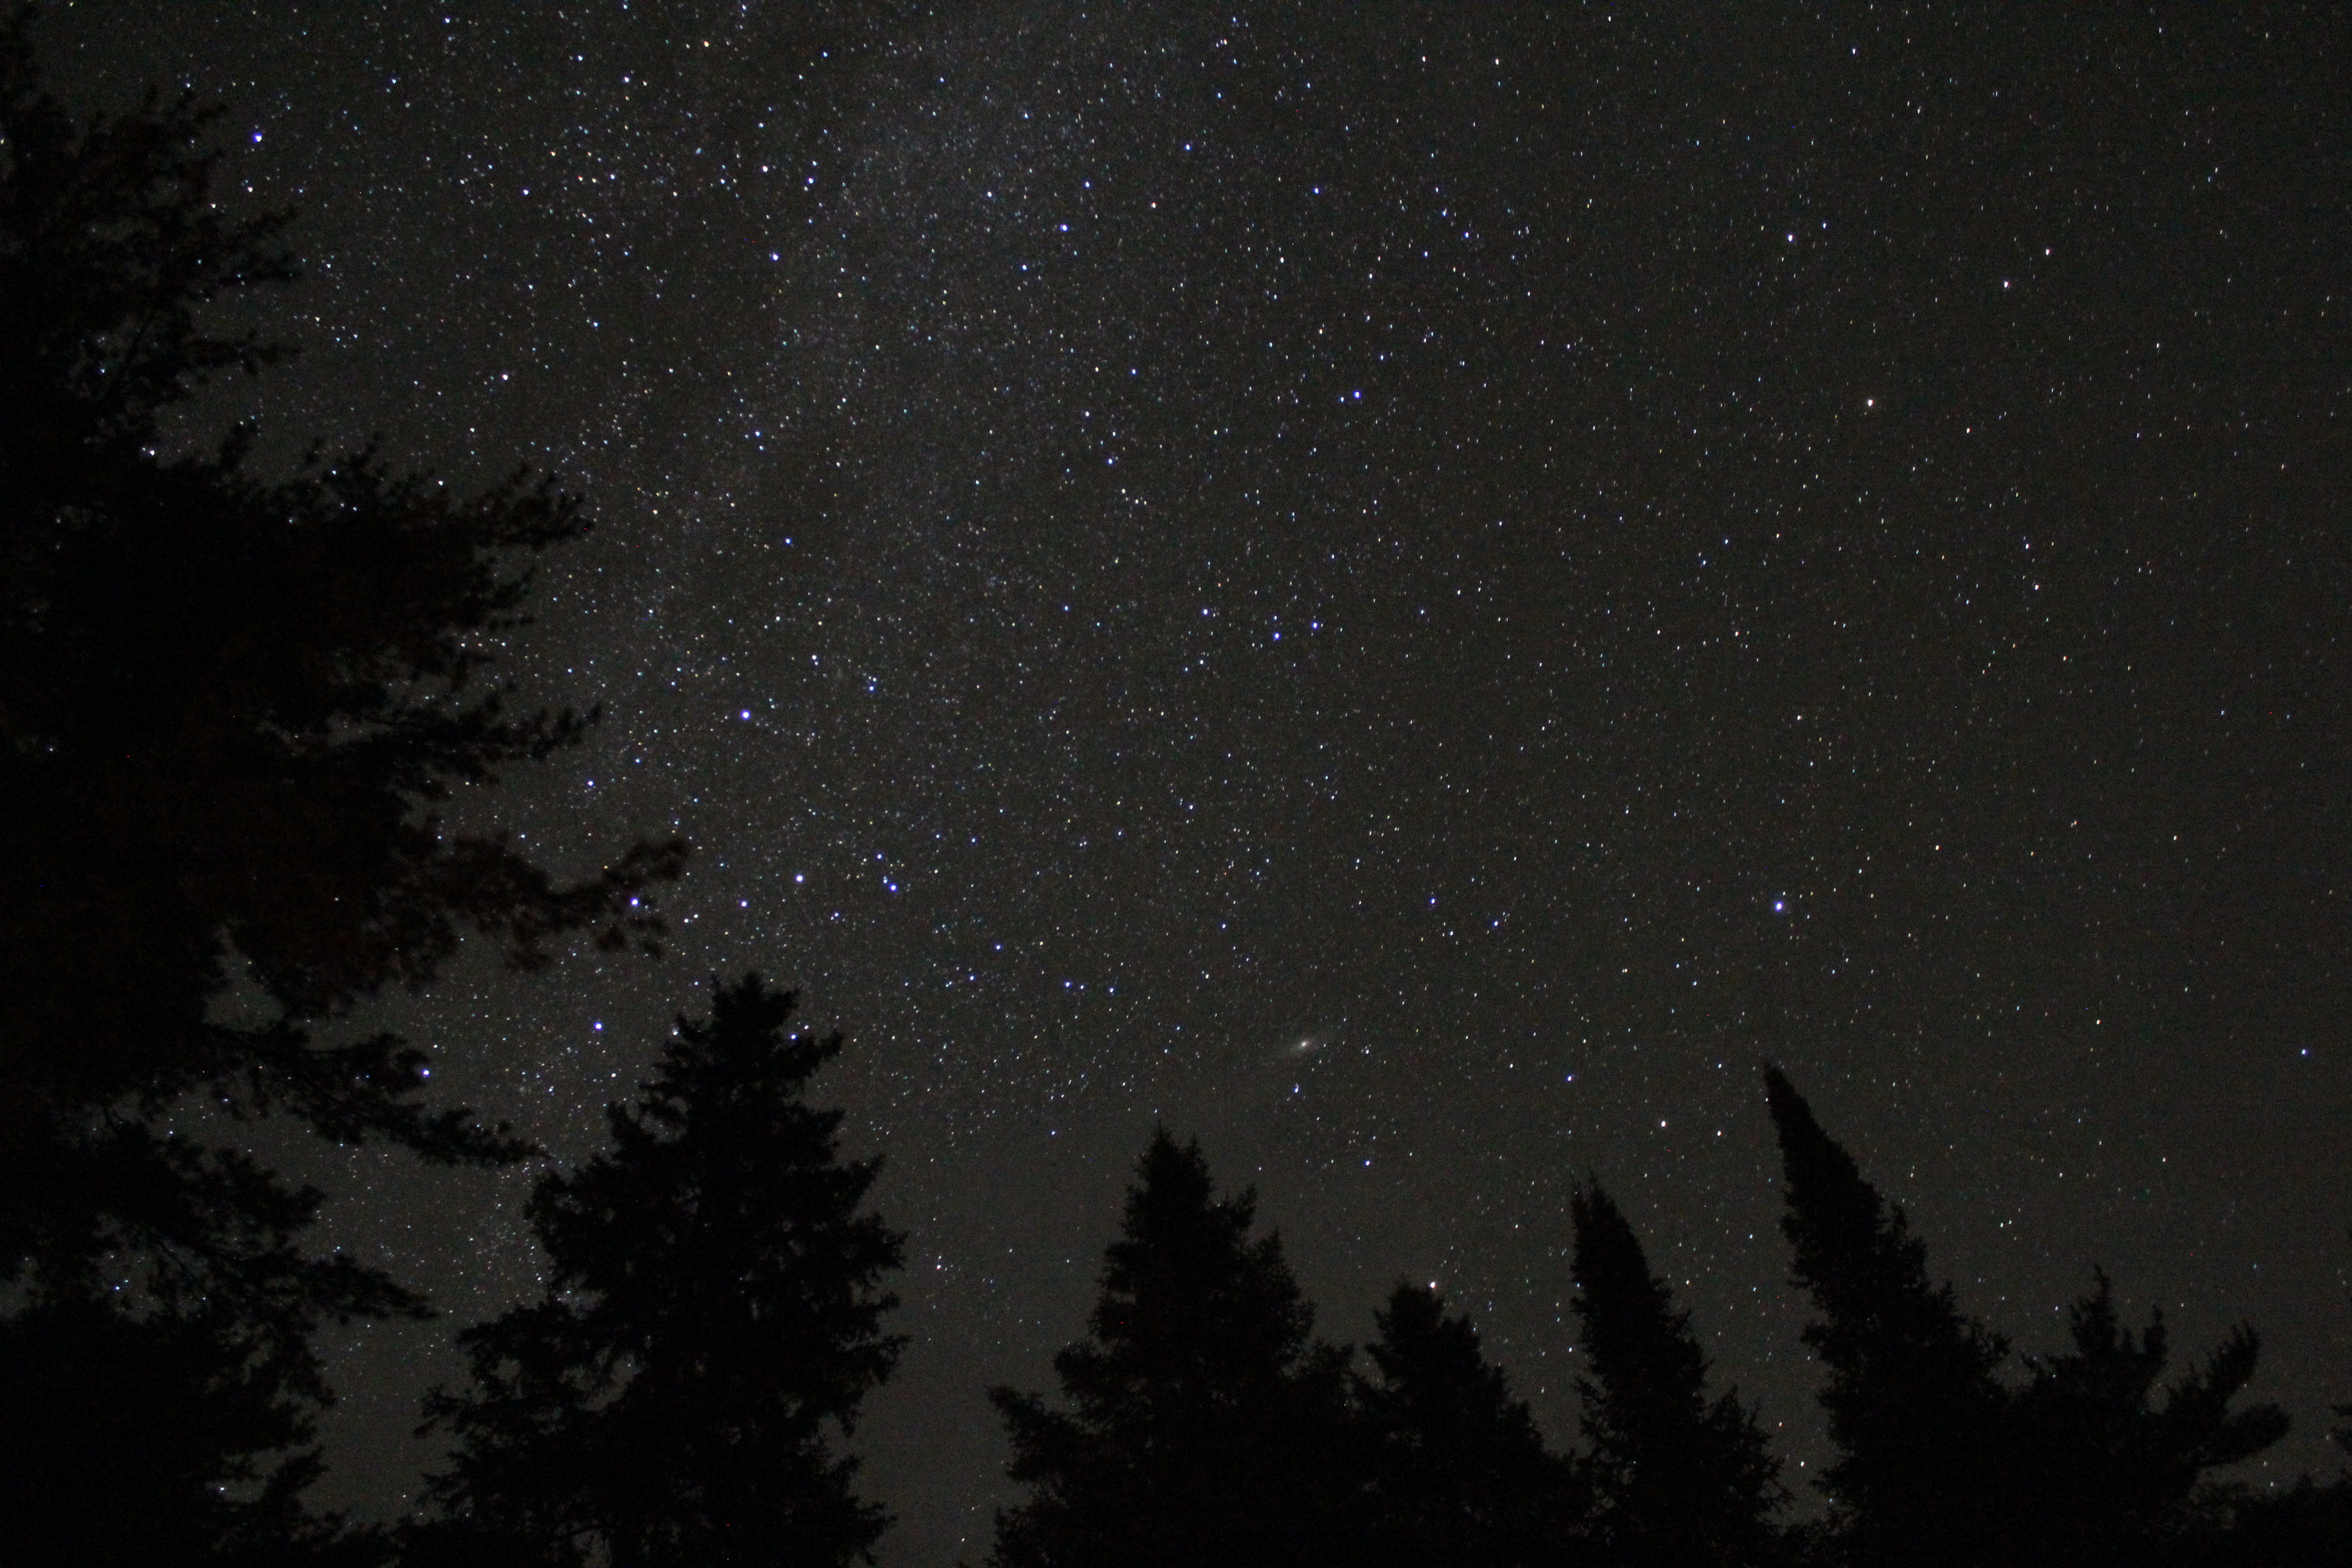
These are the best shots I have ever taken. In-focus and showing the features of the Milky Way. Both are unedited, and I think I can get a bit more out of them with some work in light room or photoshop. If you zoom in on them there is a bit of noise, but with stacking, the features should persist and the noise will reduce, giving some better photos in the end. That is my next challenge.
The time lapse was taken for about an hour, from just after sunset until complete darkness. It came out pretty nicely, and you can see how the fire slowly builds. I was bummed that it was cloudy, but at least the clouds ended up adding some effect.
For the rest of the year, I want to look at purchasing a tracking mount, allowing me to do longer exposures without worrying about star trailing. I also want to get an adapter for a telescope, so I can do some serious zoomed in shots and get actually photograph some specific objects.
For now, this has been a summary of my first six months of astrophotography. I still have a lot to learn but I am having a blast either way!