Last year after getting a Canon DSLR camera, I spent as much time as I could doing some basic astrophotography. I took photos of stars, planets, the Moon, and even did some star trails. One thing I quickly realized is that there are limitations if you don’t have a tracking mount or a telescope adaptor. The tracking gives you a method for taking longer exposures, and the telescope adaptor as expected gives you the ability to zoom in on distant objects.
Even with these temporary limitations (I hope to invest in them someday) there are still a lot of options for astrophotography. One of my favourite styles is to do time-lapses, especially of sunsets. Here is one I took a couple of weeks ago near Alliston, ON.
The cloud cover kept me from continuing it into the night, but it gave some nice effects with the reflecting sunlight., especially the moving rays across the clouds. Near the end of the time lapse you can see that the wind picked up as the camera shifted a bit between frames.
Even though I would like a tracking mount, there is a way to capture longer exposures without tracking, and that involves stacking multiple shorter exposures. I haven’t had much success with this, but with practice I hope to improve this summer.
What I love about time lapse is that it let’s us see the world on a timescale that is different than our own. Some people prefer the more expensive high-speed camera work to slow down incredibly fast events. But I feel a great sense of accomplishment in spending the hours necessary to get a beautiful 30 seconds of movement in a final time-lapse.
In the case of the above time lapse, I learned to use my camera in aperture priority mode, which automatically adjusts the exposure time while allowing the ISO and F-stop to be set manually. This is the secret to capturing the transitions between daytime and nighttime. Usually with the Sun being so bright, a fixed exposure time / ISO / F-stop either overexposes the daytime parts of the time-lapse, or underexposes the night-time parts. But with an automatically varying exposure time, you can get a nice smooth transition as the exposure increases as it gets darker.
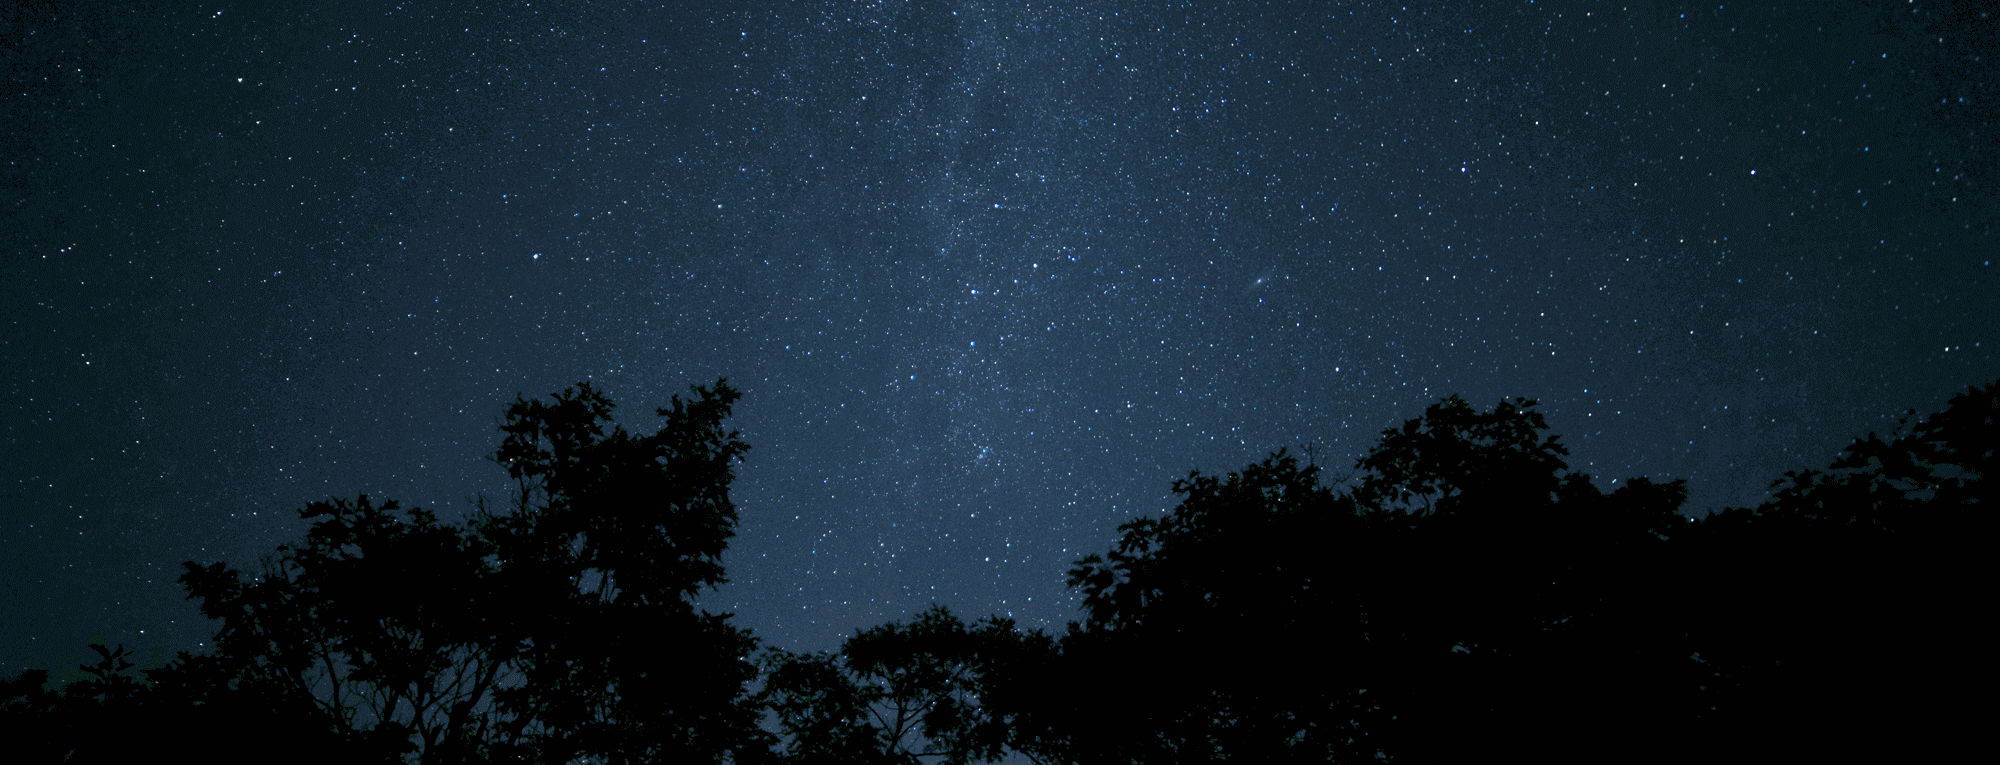
It also avoids the flickering effect that comes into play when you try to manually adjust the exposure in each image. It is very difficult to edit all of the images to give a smooth transition in the final video. My next step is to take it all the way into night-time and try to get some stars showing up. I feel like the difficult part will be limiting the exposure time once it gets darker. Ideally it has to be long enough to capture stars, but short enough to avoid the star trailing that comes from the Earth’s motion.
At any rate, I hope to learn a lot this summer and hopefully even more in Autumn and Winter. It will all lead up to next August when I hope to travel down to the USA to watch and photograph the August 21st, 2017 total solar eclipse. Then we’ll see how far I’ve come. By that time I will have a bit more equipment too.